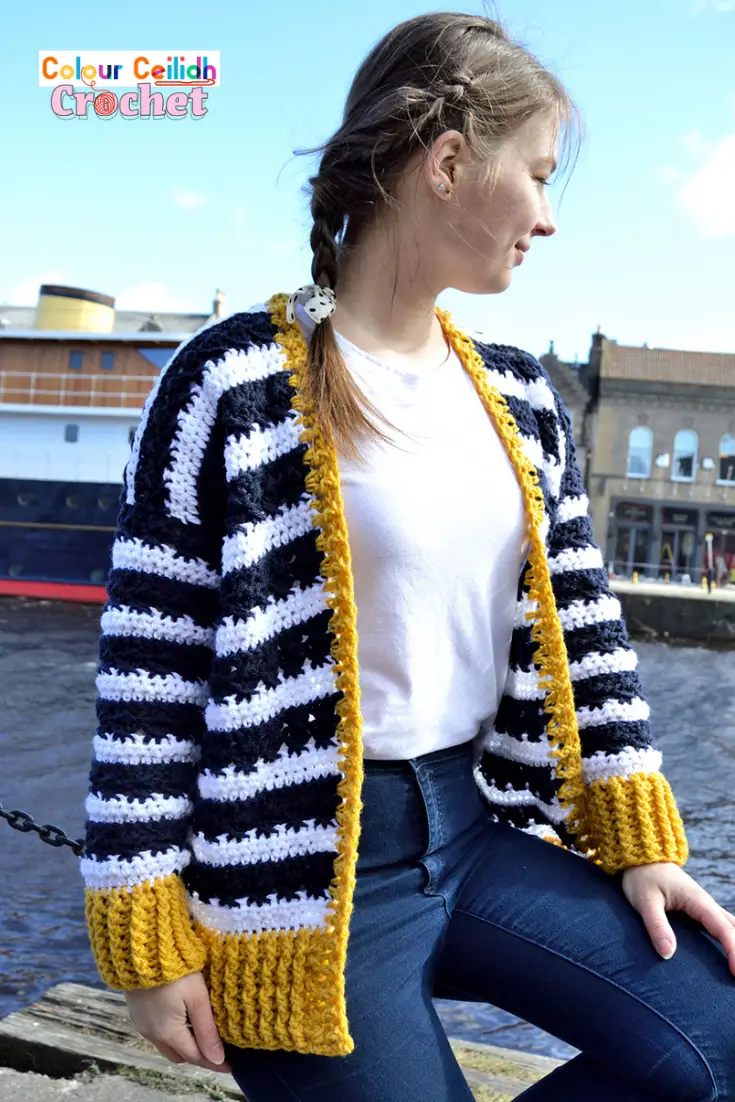
Without having to cut the yarn between stripes, this feminine crochet nautical cardigan is super easy and enjoyable to make. What is more, this crochet cardigan pattern is free and includes an easy Youtube video tutorial.
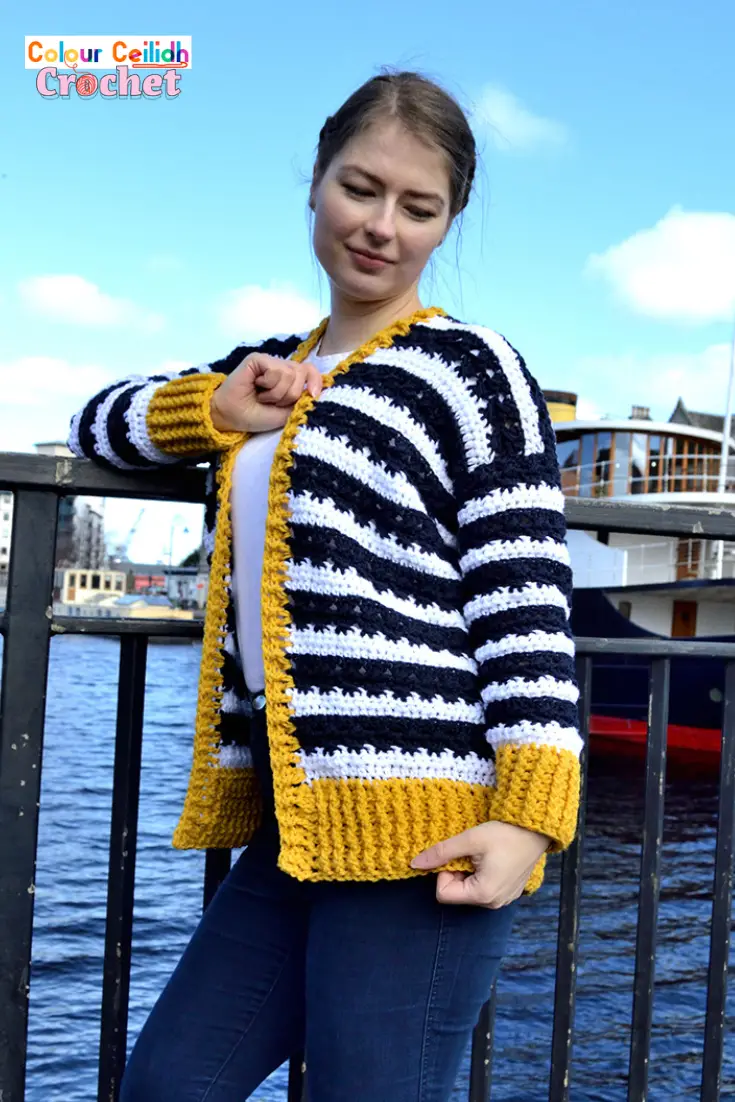
Simply make 3 rectangles and the sleeves, seam and add ribbing! (I show you how in the video)
This post contains affiliate links to products. I may receive a small commission for purchases made through these links.
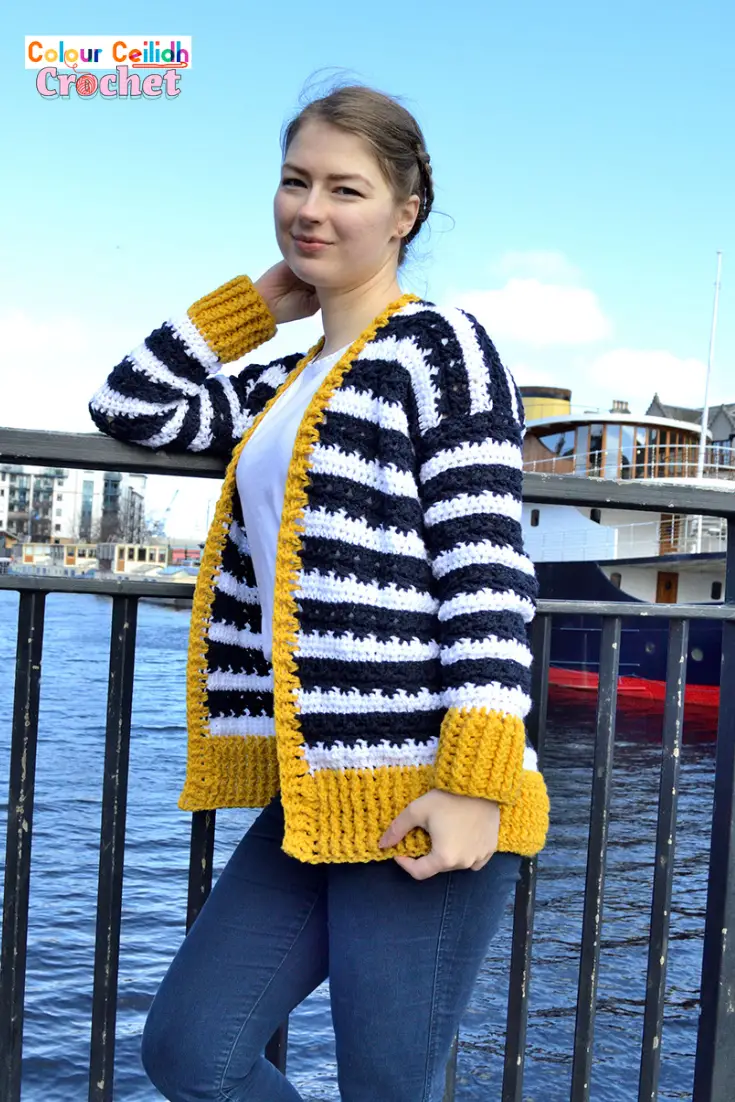
Yarn
I’m using Lion Brand Vanna’s Choice in Navy, White and Mustard.
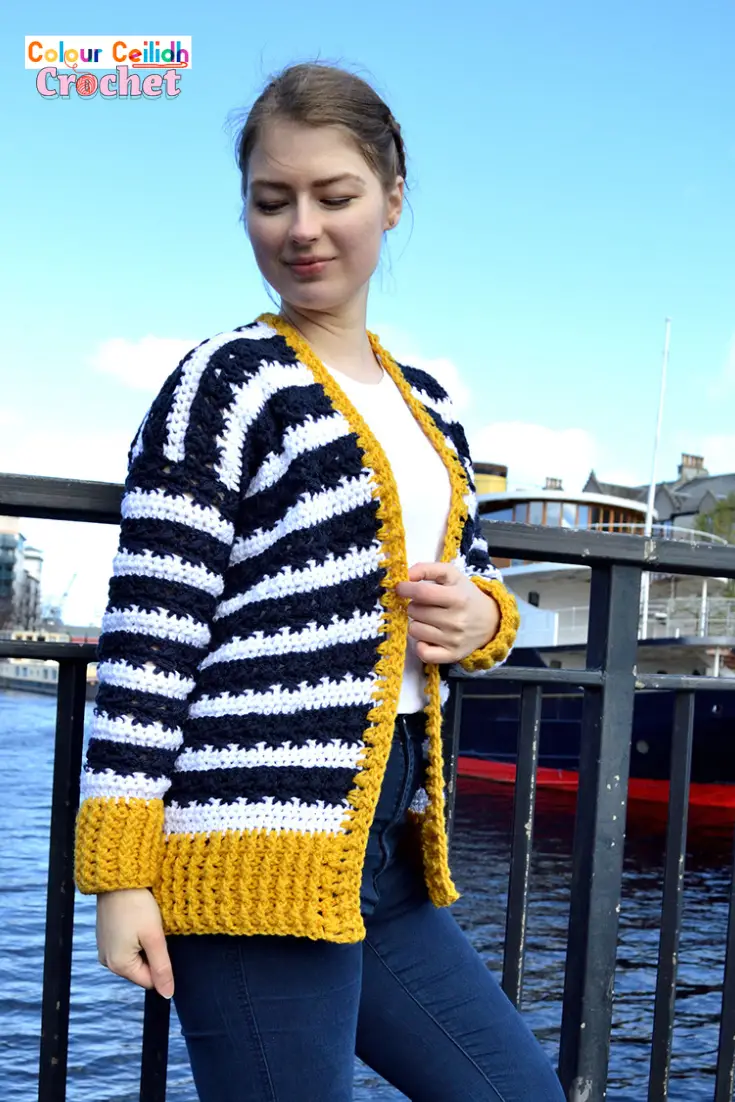
Stitches & Design
I can’t tell you how much fun I had using just half double crochet and double crochet stitches to create such a beautiful effect between the stripes. And a subtle kind of cable-y and lacy effect going on in the navy stripes!
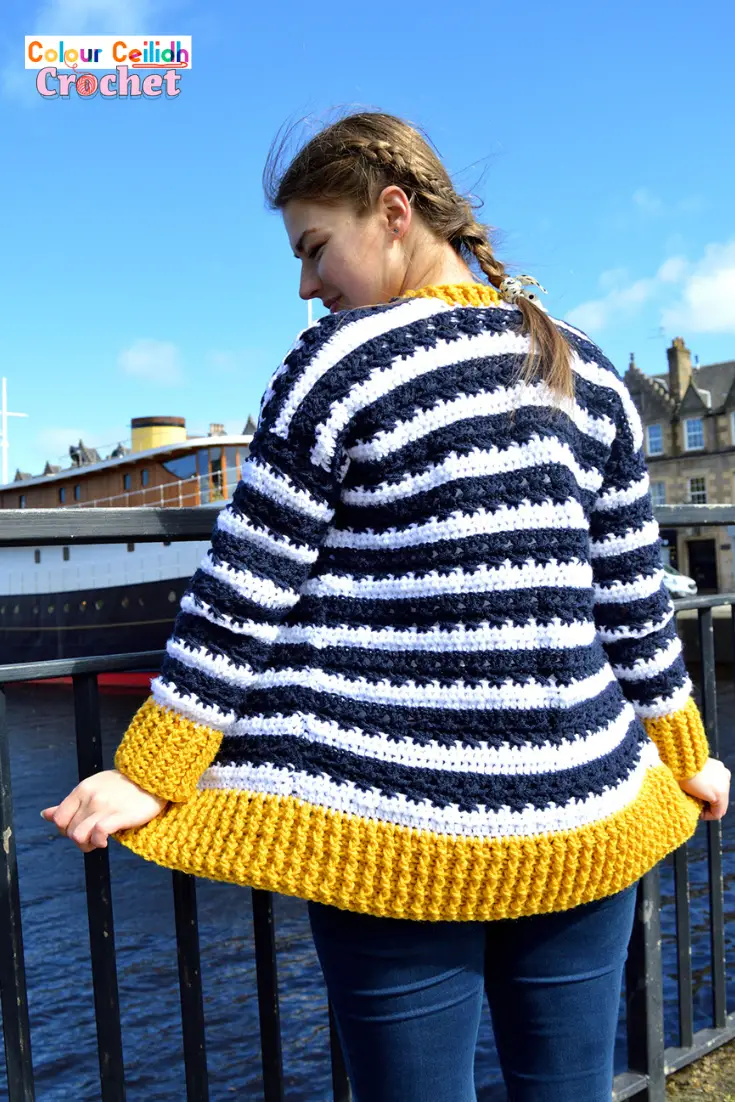
I love wearing navy stripes already, so I’m very excited to add this new crochet cardigan to my wardrobe. This cardigan is super simple, super enjoyable & super pretty!
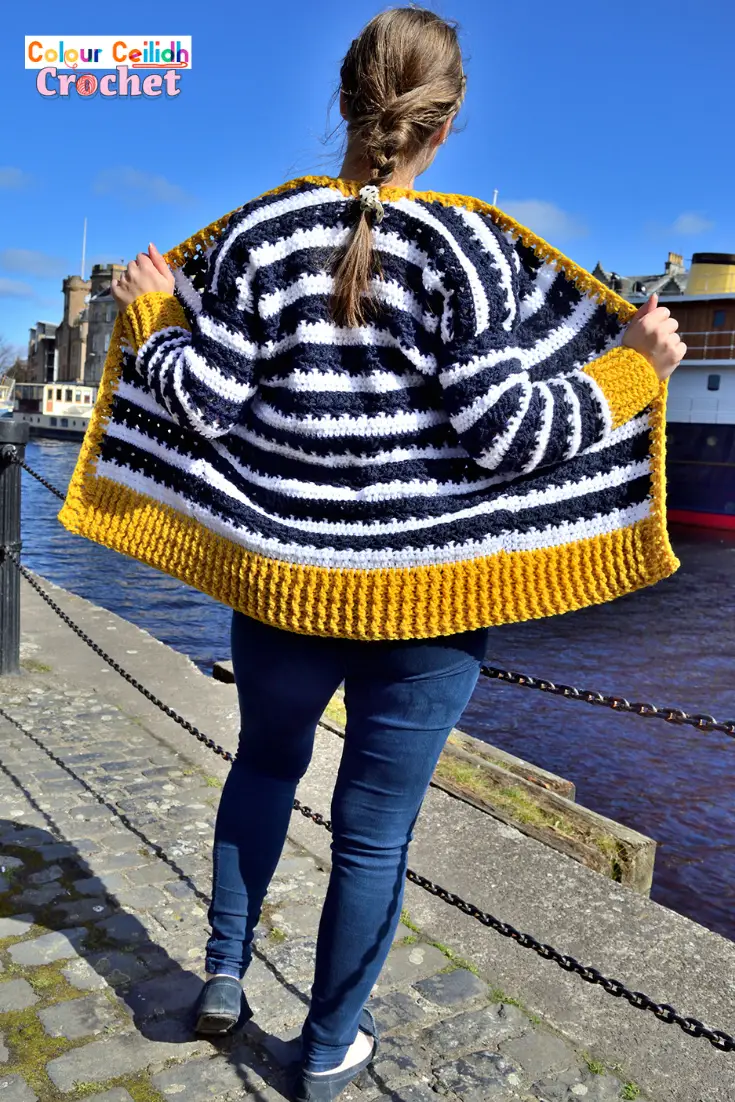
I love it when a garment offers unexpected surprises when you walk up to it to take a closer look…
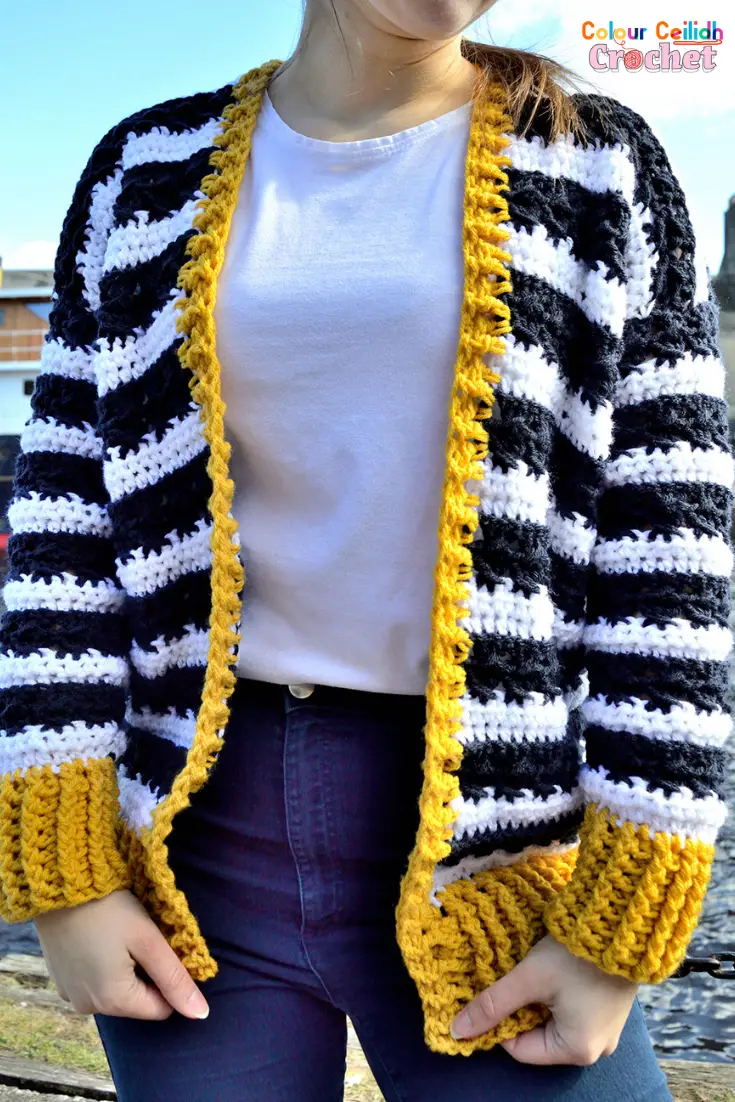
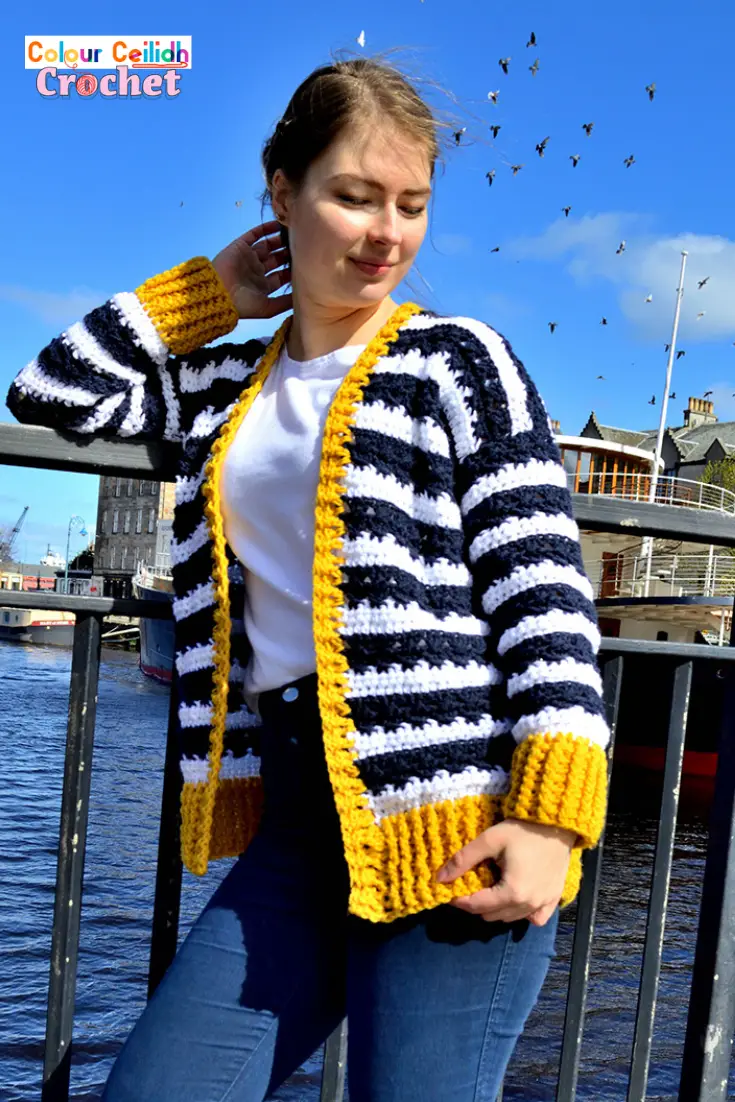
I just love taking something so simple like three basic colors and creating something beautiful with it. The addition of mustard color is a nod to golden sailor and nautical uniform buttons. And I think that the yellow makes it pop – it’s not your usual navy stripe sweater. So whatever navy stripe clothing you may have in your wardrobe, this one will be something new.
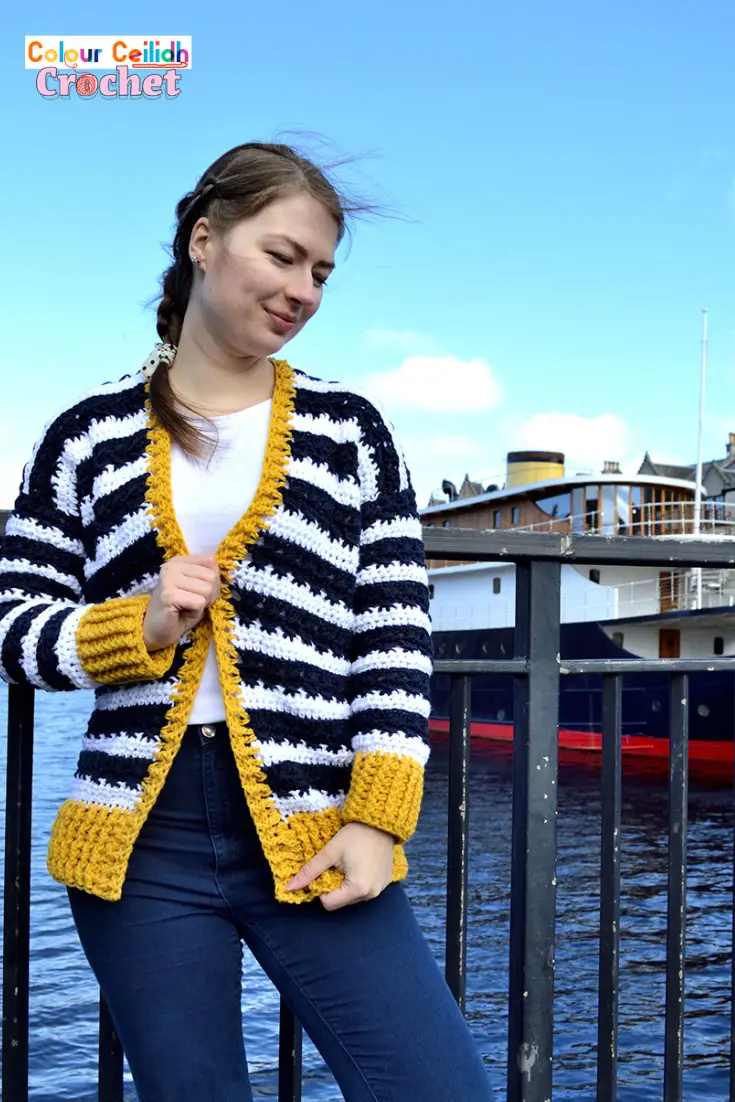
And of course it’s super fast to make, because I’m using good old tried and tested and familiar stitches.
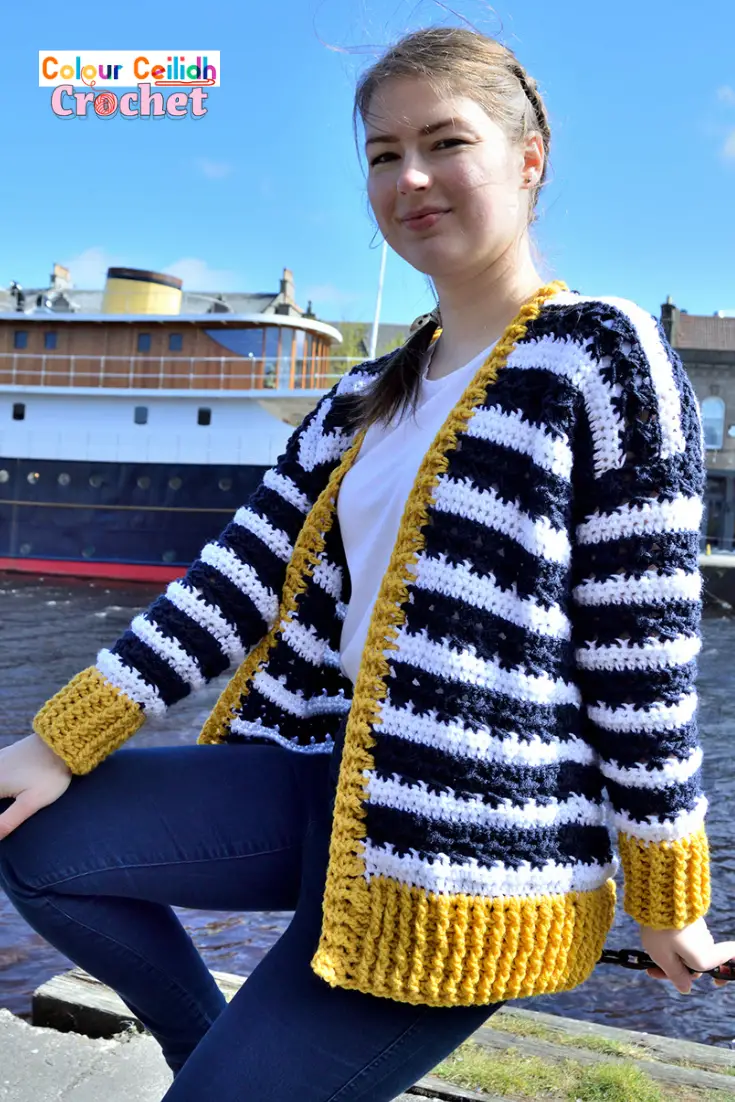
This is something I want to wear on my next available cruise holiday. Anyone else bought a bunch of bikinis in lockdown sale for absolutely no reason or was it just me? I bet I’ll look nice on deck with this cardigan and receive a lot of compliments…
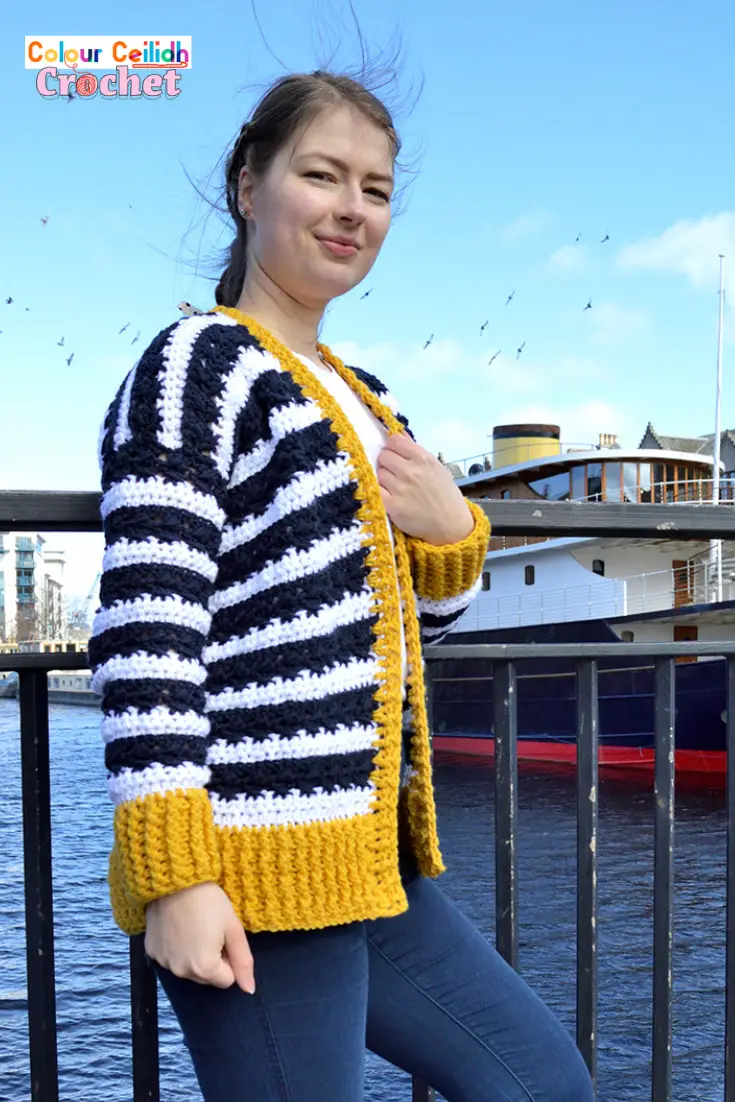
Don’t cut the yarn between stripes, simply let it be, you’ll pick it up in the next stripe. The stripes are made of two rows so you come back to the same side where the yarn is. Later on you’ll either crochet over it when making the ribbing or seam over it and hide it inside.
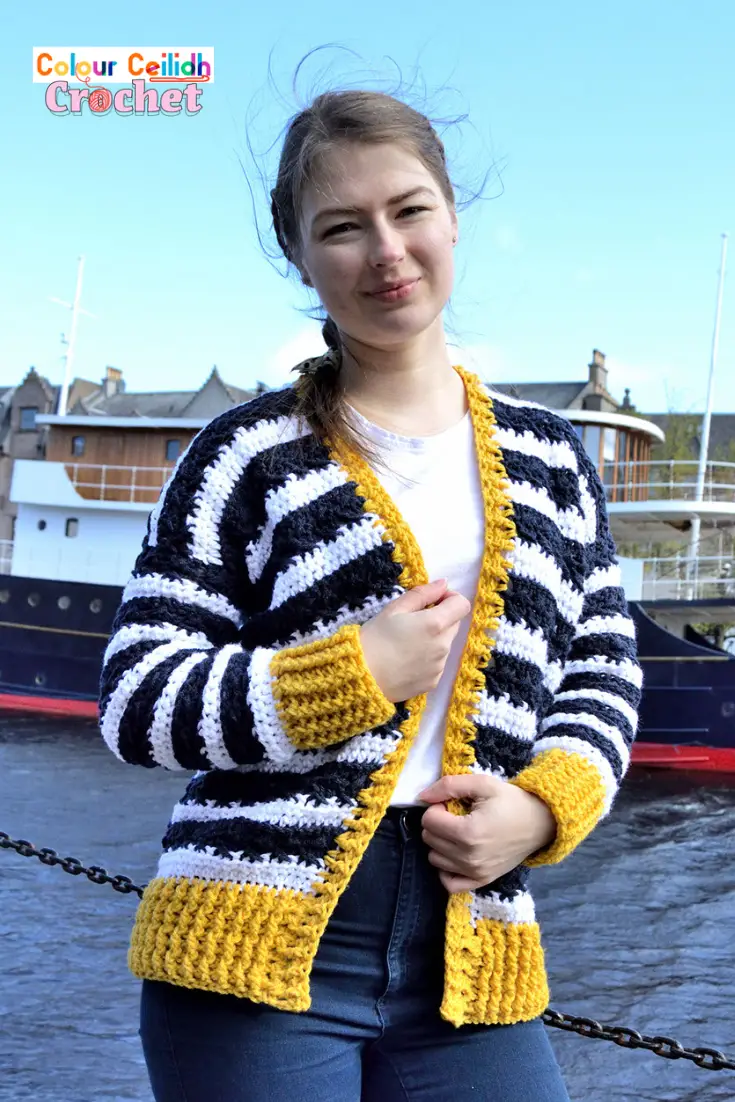
Crochet Nautical Cardigan – Free Pattern
- PIN it for later.
- Add this pattern to your Ravelry queue.
- Ready to crochet but don’t want the ads in your way? PRINT it here*.
* a lovingly made print friendly version for a small fee.
Description
Without having to cut the yarn between stripes, this feminine crochet nautical cardigan is super easy and enjoyable to make. I can’t tell you how much fun I had using just half double crochet and double crochet stitches to create such a beautiful effect between the stripes and a subtle kind of cable-y and lacy effect going on in the navy stripes! And of course it’s super fast to make, because I’m using good old tried and tested stitches. What is more, this crochet cardigan pattern is free and includes an easy Youtube video tutorial, where you can see the close up of the fabric.
Sizes
This cardigan is available in 9 sizes: XS, S, M, L, XL, 2X, 3X, 4X, 5X.
The cardigan is approx 25.5″ long. Model is 5’7″, wears and is a size M.
These sizes are based on the Craft Yarn Council standard body measurements and sizing, so if you want to check your size, search for “Craft Yarn Council woman size charts”.
Care Instructions
The Lion Brand Vanna’s Choice yarn is a 100% acrylic. It’s machine washable at 30 C / 86 F.
Pattern Notes
- Project Level: Easy!
- If you have any questions, check the video (link below).
- The long sequence of numbers in the pattern corresponds to the 9 sizes starting from XS and ending with 5X, with XS being placed first and then others arranged in ascending order in brackets and separated by commas.
Crochet Nautical Cardigan Video Tutorial
Crochet Nautical Cardigan | Easy Crochet Summer Sweater Pattern
Materials
- Lion Brand Vanna’s Choice (4 / Medium / Aran weight, 100 g / 3.5 oz, 156 m / 170 yd, 100% acrylic): 3 (3, 3, 4, 4, 4, 5, 5, 5) skeins in Navy, 2 (2, 2, 2, 2, 3, 3, 3, 3) skeins in White & 2 (2, 2, 2, 2, 3, 3, 3, 3) skeins in Mustard
- 9 mm / M 13 hook
- Scissors
Gauge
Following the Pattern Repeat below, there are approx 10.8 sts & 7.2 rows in 4 X 4 ” square.
Abbreviations (US Terms)
- blo: back loop only
- BPdc: back post double crochet
- ch: chain
- dc: double crochet
- FPdc: front post double crochet
- hdc: half double crochet
- rep: repeat
- st: stitch
- t: turn
Pattern Overview
- Make the back rectangle, two front rectangles & two sleeves.
- Mark the armholes.
- Seam the sides, shoulders & sleeves.
- Add ribbing to the cardi bottom, sleeve cuffs and the front.
Pattern Repeat
With White, chain a multiple of 3. The stitch count is base chain minus 1.
Row1 (White) Hdc in 3rd ch from hook (counts as 2 hdc), hdc in next st and in every st, t.
Row2 (White) Ch 2 (counts as hdc), hdc in same st and in every st, t.
Row3 (Navy) Ch 3 (counts as dc), skip crocheting in same st, *dc in next st twice, dc in the skipped st, skip next st; rep from *, dc in last st, t.
Row4 (Navy) Ch 3 (counts as dc), skip crocheting in same st and next st, dc in next st twice, dc in the skipped st just before first dc, *skip next st, dc in next st twice, dc in skipped st; rep from *, dc to top of ch-3, t.
Row5 (White) Ch 2 (counts as hdc), skip crocheting in same st, hdc-blo in next st and in every st, hdc to top of ch-3, t.
Rep rows 2 – 5.
1. Make 3 Rectangles & 2 Sleeves
Make the back rectangle, two front rectangles & two sleeves.
Back Rectangle & 2 Front Rectangles
For the back rectangle: with White, ch 48 (51, 57, 60, 66, 72, 75, 78, 87). For the front rectangles: with White, ch 21 (24, 27, 27, 30, 33, 36, 36, 42).
Follow the Pattern Repeat until you have 35 (35, 37, 37, 37, 37, 37, 39, 39) rows, fasten off.
2 Sleeves
With White, ch 24 (24, 27, 27, 30, 30, 33, 33, 36). Follow the Pattern Repeat until you have 22 (24, 24, 24, 22, 22, 22, 22, 20) rows in the sleeve, making sure to increase as instructed below.
To increase in the sleeve, make 3 extra stitches in the row by placing two stitches in one stitch instead of one, anywhere in the row three times. For example, place 2 sts in second st, somewhere in the middle and the last or second last st. Size 4X is instructed to place 6 extra sts in row 22 instead of 3, which means follow the same principle and place 6 extra sts anywhere in the row to increase its width and the width of the sleeve. If not instructed to increase in that row, follow the Pattern Repeat as usual.
Increase by 3 sts in rows 2 & 6. Then in row 10 increase by 0 (3, 3, 3, 3, 3, 3, 3, 3) sts, in rows 14 & 18 increase by 0 (0, 0, 0, 0, 3, 3, 3, 3) sts, and in row 22 increase by 0 (0, 0, 0, 0, 0, 0, 6, 0) sts.
After all the increases, check that you have 29 (32, 35, 35, 38, 44, 47, 53, 50) sts at the top of the sleeve, fasten off.
2. Mark The Armholes
Starting from the top, count & mark 10 (10, 11, 12, 13, 14, 16, 18, 17) rows for the armholes in your back & front rectangles.
3. Seam
Seam the sides, shoulders, sleeves & sleeves into body, taking care to align the stripes (it’s not as hard as it looks! I found that it was easy to produce such a neat looking cardi. Simply try to roughly match the same sts of the same color on both sides). Leave a few sts unseamed in between the shoulder seams for the neck opening. I used the mattress stitch.
4. Add Ribbing
Add ribbing to the cardi bottom, sleeve cuffs and the front.
Make 8 rows of ribbing for the cardigan bottom and the sleeve cuffs and 2 rows for the front.
Place the ribbing stitches in every stitch into the base chain for the cardi bottom and sleeve cuffs, and in every space behind first / last posts of every row for the front ribbing (1 ribbing st for every hdc row and ribbing row & 2 ribbing sts for every dc row and for every back rectangle stitch when you crochet around the neck to allow for stretching). When you make the first row, I recommend placing 2 posts of ribbing in the first and last stitches at the bottom of the cardigan & 3 posts of ribbing in the first and last stitches at the front of the cardigan. If you have any questions, hopefully the video tutorial can clarify that for you.
Ribbing Pattern Repeat
Row1 Ch 3 (counts as dc), dc in next space and in every space behind every st, placing 2 dc behind dc posts and in every st in the back rectangle at the neck, t.
Row2 Ch 2 (counts as st), skip crocheting around first post, *FPdc around the next post, BPdc around the next post; rep from *, t.
Row3 Rep row2 by making a FPdc for every FPdc and a BPdc for every BPdc to continue creating the ribbing ridges.
Rep row3 until the required number of rows, fasten off.
Weave in the ends.
More Ideas
This Braided Nautical Cardigan by Journey Channel Designs on Joy of Motion Crochet is a raglan style garment. This Olivia Crochet Top by Easy Crochet is so pretty that I can’t take my eyes of it. This Nautical Filet Crochet Blanket by Cashmere Dandelions seems to have a calming effect on me and the colors are lovely. Pair it up with some nautical inspired cushions like this Farmhouse Nautical Pillow Anchor, also by the same author, and you’re all set for the summer!
Check out my other crochet cardigan patterns for more inspiration.
Well Done!
I hope you enjoyed this free crochet pattern for my crochet nautical cardigan. What should I crochet next? See you in my next pattern!
Happy crocheting!
Justina
