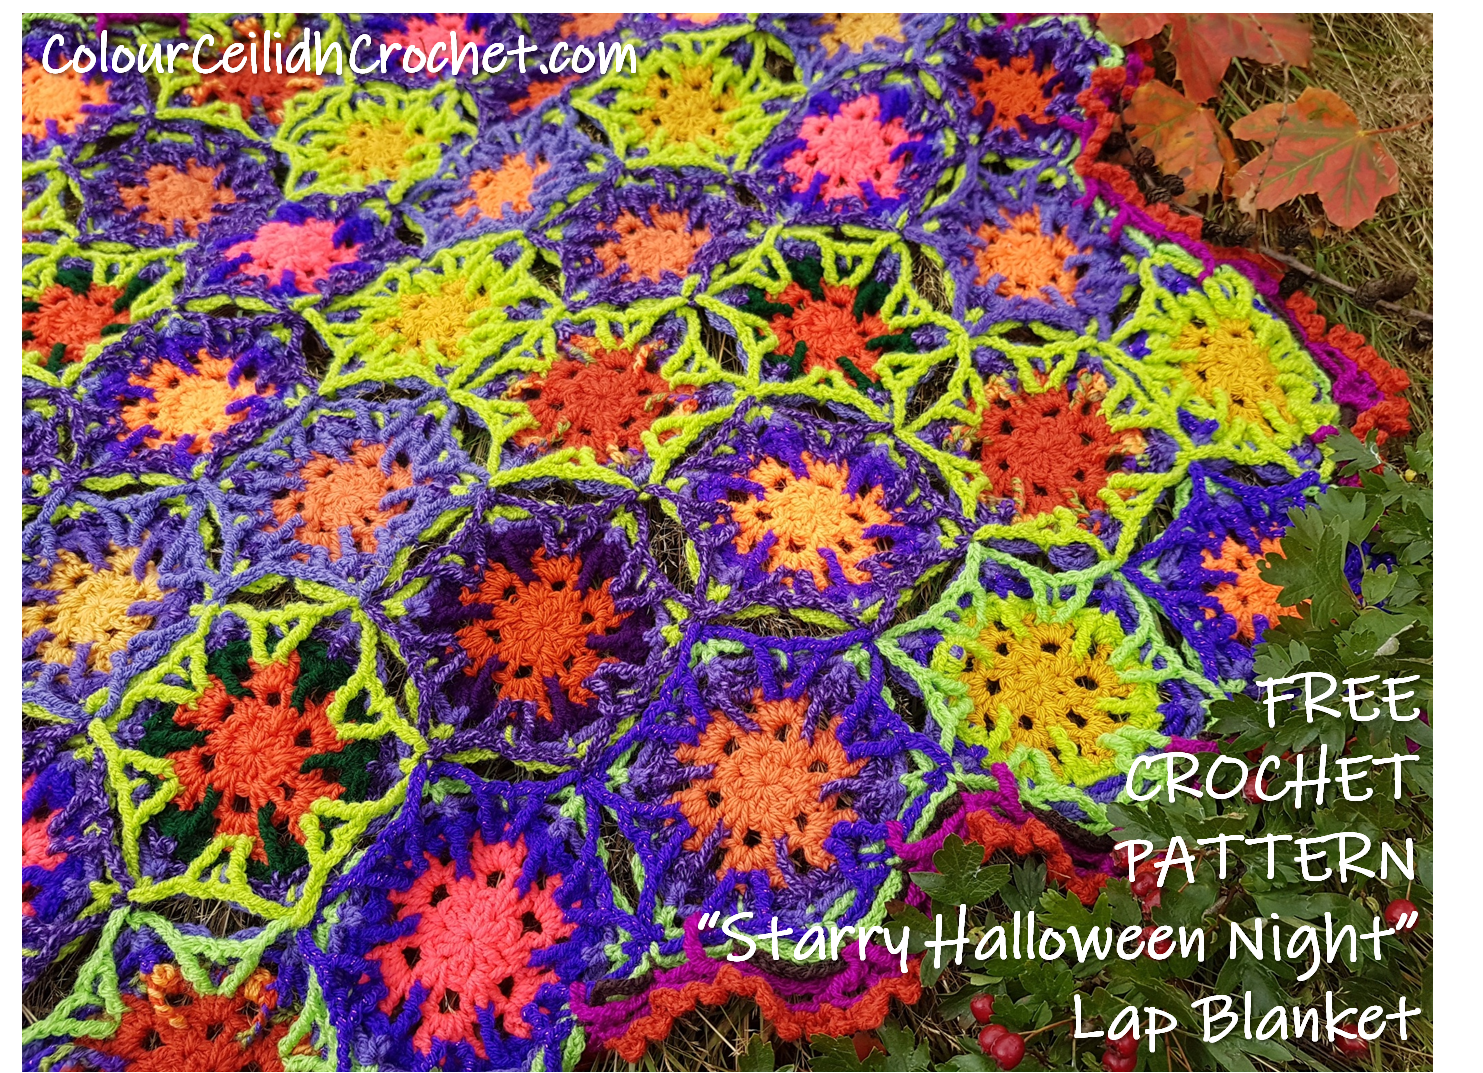
If you are looking for a yarn busting and fun Halloween crochet project then this lap blanket is for you!
- Crochet Blanket “Starry Halloween Night”: In The Beginning There Was A Magic Loop
- Crochet Blanket “Starry Halloween Night”: The Hexagon Motif Pattern & Joining As You Go
- Crochet Blanket “Starry Halloween Night”: The Border Pattern
Abbreviations
rep: repeat
FPdtr: front post double treble crochet stitch. Yarn over three times, insert hook from front to back to front around post of stitch indicated and pull up a loop, [yarn over and pull through 2 loops on hook] four times.
The Border
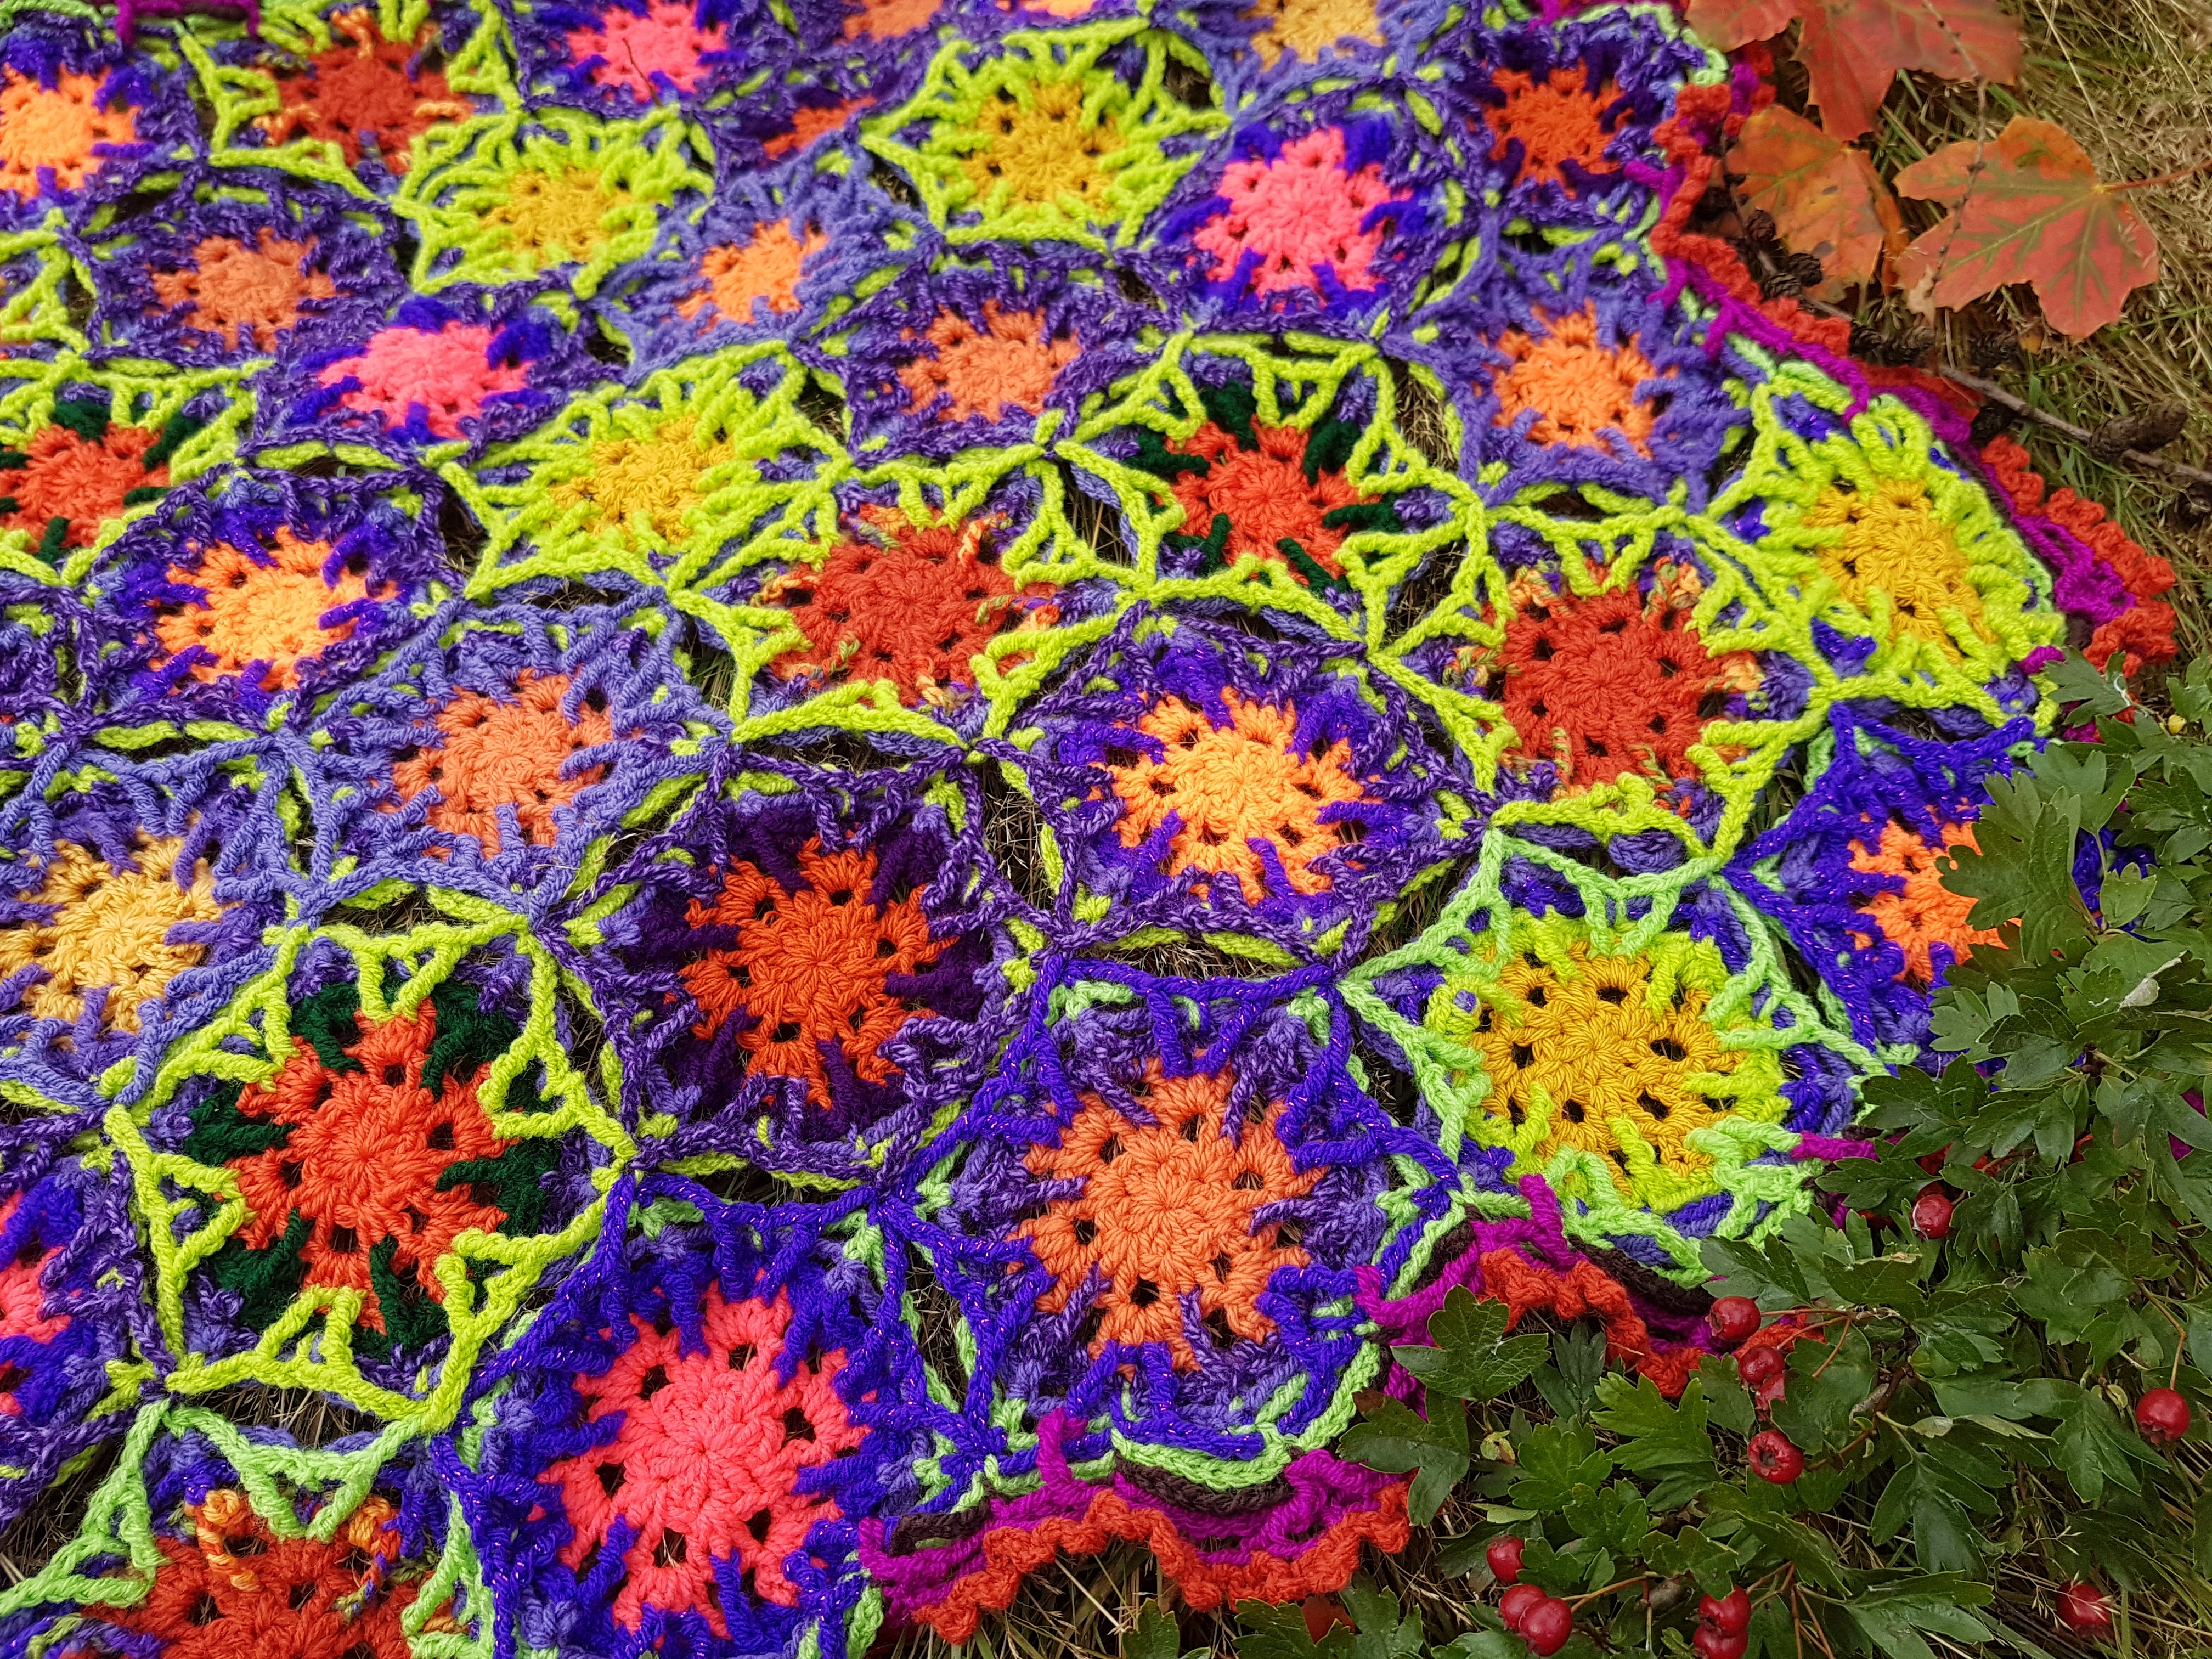
I don’t know about you, but after I’ve just completed that big batch of colourful hexagons I can’t just stop now… As they have such an uplifting effect on me! Therefore…
We’re going to continue with the gathered chain theme for this border to complement the starry/ spider webby looking lacy Halloween hexagons that we magicked up earlier on.
![]()
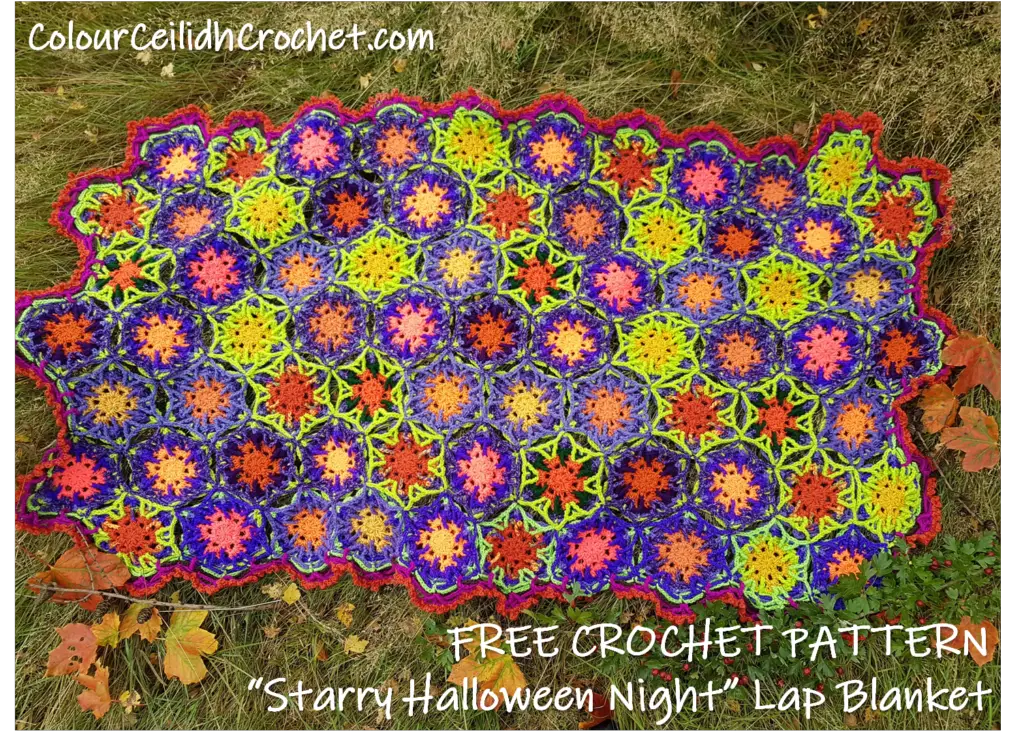
And as for two parts for every round (long sides and short sides, diagram below), it’s simply due to the nature of the hexagon shape. If you align them all side by side with corners pointing up, they will form horizontal zig-zag lines and vertical funny looking lines.
I chose not to create half-hexagons that would straighten out the vertical lines to celebrate and embrace this quirky shape in my crochet blanket and to make it look more interesting. Also, I wanted you to know exactly which side you’re crocheting to make you feel more organised.
![]()
As I was crocheting the first ever round of the border, I was thinking how I have no idea what it’s going to look like.
![]()
Sure, it looks pretty so far, but what will it be like in the end? I had no idea where this hook was going to take me… It seemed like I was going on an adventure, and as I was counting the chains I was imagining that I was counting my steps to find a hidden treasure.
Just don’t crochet your slip stitches super tight- we’re going to be crocheting into these in the later rounds.
I started my border with the hexagon in the top right corner and at the bottom of the zig-zag line (the red dot in the diagram above).
The following instructions apply for the zig-zag edges of the blanket where we’re only crocheting up and down; in my blanket these are the long sides of the rectangle.
Round 1
Rnd 1 (long sides) Ch 1 (hdc if you’re continuing from the short sides’ pattern), *ch 7, slip st in slip st in the half way point from last round of hexagon, ch 7, hdc in hdc, ch 7, slip st in the half way point from last round of hexagon, ch 7, slip st in either of hdc in the two hexagon joining point (or hdc in hdc if this is your last st); rep from * until the end of the long side (red dot in the diagram above, end of the zig-zag line), proceed with the short sides’ pattern.
By now you probably see the simple pattern here. We’re crocheting slip stitches into slip stitches, slip stitches into two hexagon joining points, half double crochet stitches into half double crochet stitches and separating everything with 7 chains. Now you can adjust this pattern to whatever edges you designed in your own blanket if you choose to do so just bear in mind that you’ll have to adapt the pattern below to suit your edges if they’re different than mine.
Rnd 1 (short sides) *Ch 7, slip st in slip st, ch 7, slip st in the two hexagon joining point, ch 7, slip st in slip st, ch 7, hdc in hdc, ch 7, slip st in slip st, ch 7, hdc in hdc, ch 7, slip st in slip st, ch 7, slip st in the two hexagon joining point, rep from * two times, ch 7, slip st in slip st, ch 7, proceed with the long sides’ pattern, otherwise change colour as you join with slip st in ch-1 to finish the round.
Again starting at the bottom of the zig-zag line (“Start here” dot in the diagram above), the following round is the same but instead of chain 7 we make chain 8.
Round 2
Rnd 2 (long sides) Ch 1 (hdc if you’re continuing from the short sides’ pattern), *ch 8, slip st in slip st (above half way point), ch 8, hdc in hdc, ch 8, slip st in slip st (above half way point), ch 8, slip st in slip st (above hexagon joining point) (or hdc in hdc if this is your last st); rep from * until the end of the long side (red dot in the diagram above, end of the zig-zag line), proceed with the short sides’ pattern.
Rnd 2 (short sides) *Ch 8, slip st in slip st (above half way point), ch 8, slip st in slip st (above hexagon joining point), ch 8, slip st in slip st (above half way point), ch 8, hdc in hdc, ch 8, slip st in slip st (above half way point), ch 8, hdc in hdc, ch 8, slip st in slip st (above half way point), ch 8, slip st in slip st (above hexagon joining point); rep from * two times, ch 8, slip st in slip st (above half way point), ch 8, proceed with the long sides’ pattern, otherwise change colour as you join with slip st in ch-1 to finish the round.
Alternatively…
You may like the simpler border with just rounds 1 and 2, as pictured above, and you may wish to stop here.
In Round 3 we’re going to introduce some front post double treble stitches again and they are going to descend back into our hexagons.
Round 3
Rnd 3 (long sides) Ch 2 (hdc in next hdc if you’re continuing from the short sides’ pattern), 2 hdc in same st, ch 7, slip st in slip st (above half way point), ch 7, *3 hdc in next hdc, ch 7, slip st in slip st (above half way point), **ch 2, FPdtr around post of FPdtr from Rnd 7 of the hexagon (that was around 3rd dc in 4-dc cluster), ch 3, slip st in slip st (above hexagon joining point), ch 3, FPdtr around post of FPdtr from Rnd 7 of the hexagon (that was around 2nd dc in 4-dc cluster), ch 2, slip st in slip st (above half way point), ch 7; rep from * eight times, then once from * to **, ch 7, 3 hdc in next hdc, proceed with the short sides’ pattern.
Rnd 3 (short sides) Ch 7, *slip st in slip st (above half way point), ch 2, FPdtr around post of FPdtr from Rnd 7 of the hexagon (that was around 3rd dc in 4-dc cluster), ch 3, slip st in slip st (above hexagon joining point), ch 3, FPdtr around post of FPdtr from Rnd 7 of the hexagon (that was around 2nd dc in 4-dc cluster), ch 2, slip st in slip st (above half way point), ch 7, 3 hdc in next hdc, ch 7, slip st in slip st (above half way point), ch 7, 3 hdc in next hdc, ch 7, slip st in slip st (above half way point), ch 2, FPdtr around post of FPdtr from Rnd 7 of the hexagon (that was around 3rd dc in 4-dc cluster), ch 3, slip st in slip st (above hexagon joining point), ch 3, FPdtr around post of FPdtr from Rnd 7 of the hexagon (that was around 2nd dc in 4-dc cluster), ch 2; rep from * two times, slip st in slip st (above half way point), ch 7, proceed with the long sides’ pattern, otherwise join with slip st in top of ch-2 to finish the round.
If you are following my colour scheme do not change the yarn colour here.
Round 4
Rnd 4 (long sides) Ch 1 (hdc in 2nd hdc in 3-hdc cluster if you’re continuing from the short sides’ pattern), ch 2, FPdtr around post of hdc from Rnd 2, ch 7, slip st in slip st (above half way point), ***ch 7, FPdtr around post of hdc from Rnd 2, ch 2, hdc in 2nd hdc in 3-hdc cluster, *ch 2, FPdtr around post of hdc from Rnd 2, ch 7, slip st in slip st (above half way point), **ch 5, slip st in slip st (above hexagon joining point), ch 5, slip st in slip st (above half way point), ch 7, FPdtr around post of hdc from Rnd 2, ch 2, hdc in 2nd hdc in 3-hdc cluster; rep from * eight times, then once from * to ** and from *** to *, proceed with the short sides’ pattern.
![]()
Rnd 4 (short sides) Ch 2, FPdtr around post of hdc from Rnd 2, ch 7, *slip st in slip st (above half way point), ch 5, slip st in slip st (above hexagon joining point), ch 5, slip st in slip st (above half way point), ch 7, FPdtr around post of hdc from Rnd 2, ch 2, hdc in 2nd hdc in 3-hdc cluster, ch 2, FPdtr around post of hdc from Rnd 2, ch 7, slip st in slip st (above half way point), ch 7, FPdtr around post of hdc from Rnd 2, ch 2, hdc in 2nd hdc in 3-hdc cluster, ch 2, FPdtr around post of hdc from Rnd 2, ch 7, slip st in slip st (above half way point), ch 5, slip st in slip st (above hexagon joining point), ch 5; rep from * two times, slip st in slip st (above half way point), ch 7, FPdtr around post of hdc from Rnd 2, ch 2, proceed with the long sides’ pattern, otherwise change colour as you join with slip st in ch-1 to finish the round.
![]()
Round 5 (Final Round)
I’m a very visual person and I love shortcuts so here’s a crochet hack for you, a pattern within a pattern.
My Crochet Hack
Besides the written pattern below, another way to look at this round to make it simpler is that every chain-7 block repeats the same chunk of border pattern, and every chain-5 block repeats the same chunk of border pattern, also there’s always a slip stitch (Round 5) for every slip stitch (Round 4), a slip stitch for every front post double treble crochet, and the hexagon peaks (ch2-hdc-ch2) repeat the same chunk of border pattern as well, as shown in the diagram below.
![]()
Back Loop Only
I worked my slip stitches in this round in back loop only. I love the back loop as leaving out the front loop creates a nice base line on top of which the loopy last round stitches can sit but it’s just a personal preference.
Rnd 5 (long sides) Ch 6, slip st in same st, *slip st in next st, [(slip st, ch 3, slip st) in next st, sl st in next st] ten times, (slip st, ch 6, slip st) in next st, **sl st in next st, [(slip st, ch 3, slip st) in next st, sl st in next st] five times, sl st in next st, [(slip st, ch 3, slip st) in next st, sl st in next st] two times, sl st in next two st, [(slip st, ch 3, slip st) in next st, sl st in next st] two times, sl st in next st, [(slip st, ch 3, slip st) in next st, sl st in next st] five times, (slip st, ch 6, slip st) in next st; rep from ** eight times, then once from * to **, proceed with the short sides’ pattern.
Rnd 5 (short sides) Slip st in next st, [(slip st, ch 3, slip st) in next st, sl st in next st] five times, *sl st in next st, [(slip st, ch 3, slip st) in next st, sl st in next st] two times, sl st in next two st, [(slip st, ch 3, slip st) in next st, sl st in next st] two times, sl st in next st, **[(slip st, ch 3, slip st) in next st, sl st in next st] five times, (slip st, ch 6, slip st) in next st, ***sl st in next st, [(slip st, ch 3, slip st) in next st, sl st in next st] ten times, (slip st, ch 6, slip st) in next st, sl st in next st, [(slip st, ch 3, slip st) in next st, sl st in next st] five times, sl st in next st, [(slip st, ch 3, slip st) in next st, sl st in next st] two times, sl st in next two st, [(slip st, ch 3, slip st) in next st, sl st in next st] two times, sl st in next st; rep from * two times, then once from ** to ***, proceed with the long sides’ pattern, otherwise join with slip st in next st. Fasten off.
I hope I was able to cheer you up with these photos of my colourful crochet, and that this post inspired you to be more creative with your old unwanted yarn.

Don’t forget to PIN this as well as follow me on Pinterest, Facebook and Instagram to RECEIVE behind the scenes news, and SUBSCRIBE to my email list for more exciting posts and—
Happy Crocheting!
Justina