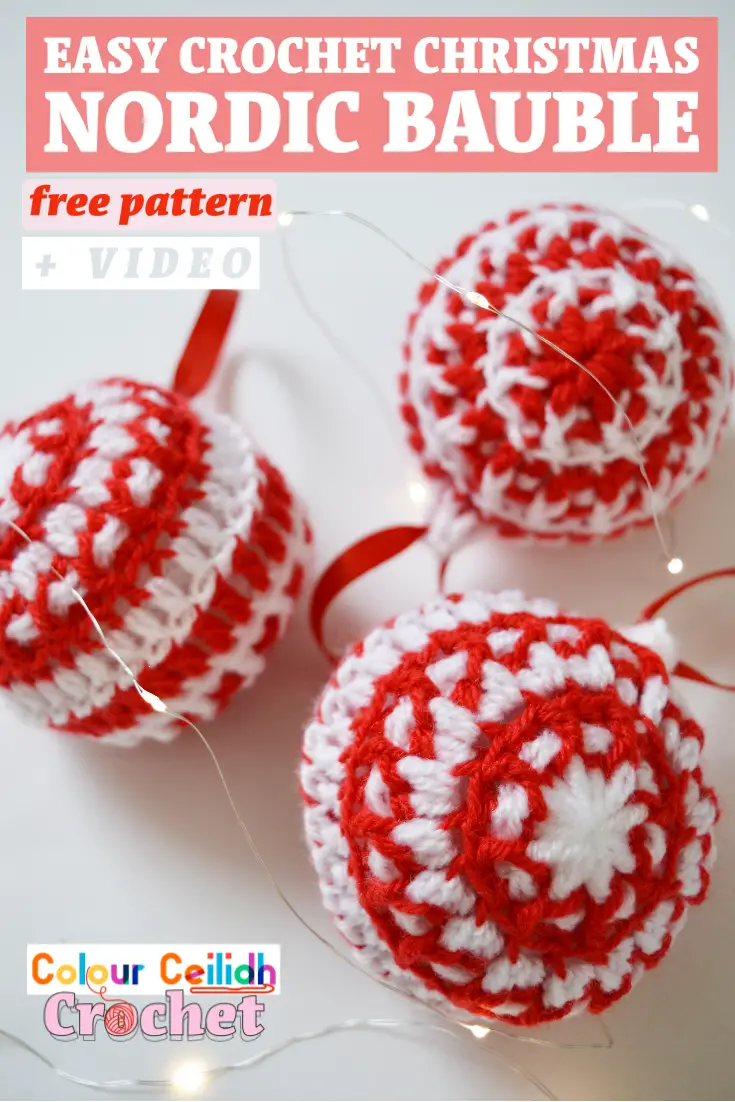
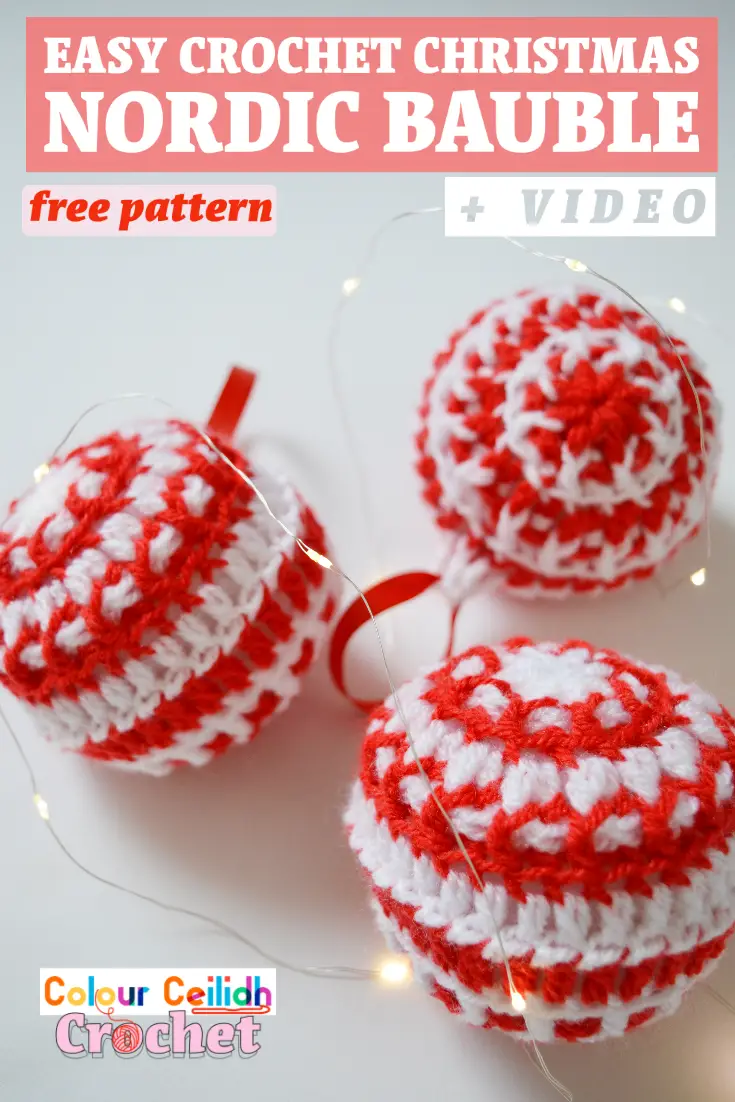
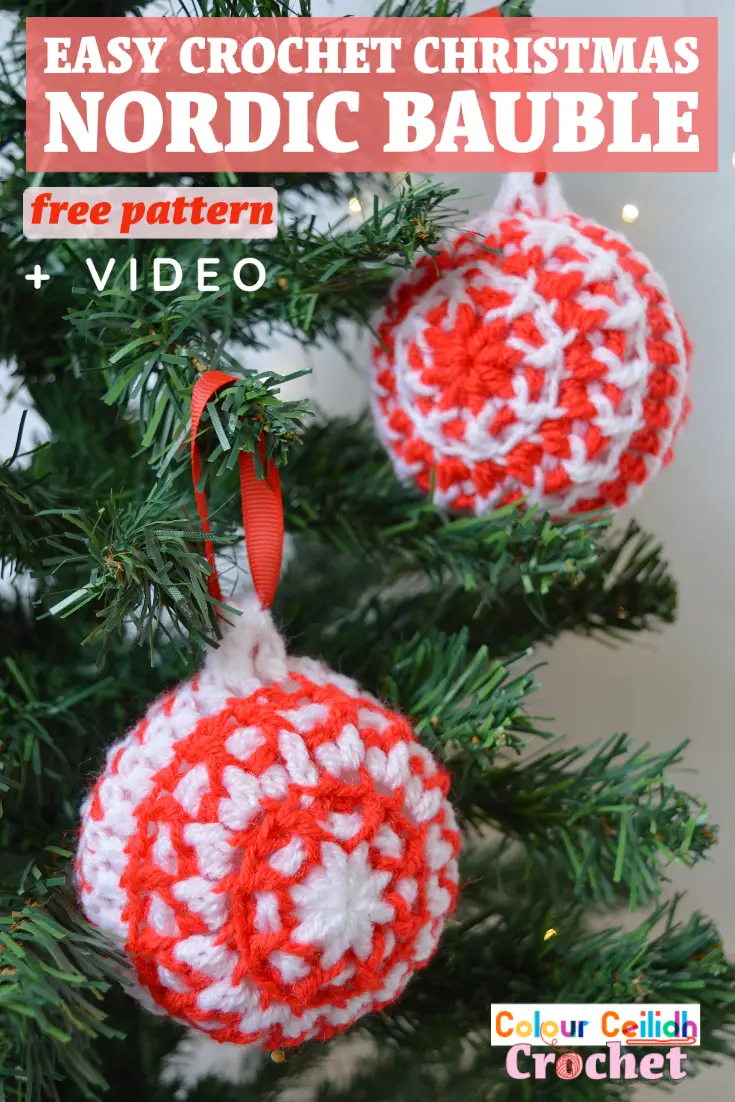
This DIY easy crochet Christmas Nordic bauble free pattern makes for a stunning handmade tree decoration for the holidays. Using small amounts of yarn and toy stuffing, featuring the traditional Nordic red and white color combination and the Nordic eight-pointed star in the middle this easy crochet Christmas Nordic bauble is a cute addition to your handmade gift collection or your Christmas crochet decorations for your home.
This post contains affiliate links to products. I may receive a small commission for purchases made through these links.
The Yarn
I’m using King Cole Pricewise DK but all you really need is any light weight yarn in red and white.
I’m using yarn that I have at home. However for example I wouldn’t want to use Stylecraft Special DK yarn for this project because the texture of that yarn in my opinion is more suited for blankets as it’s softer, a little more silky and ever so slightly thinner. Whereas King Cole Pricewise DK is a little fluffier, a little sturdier and more matt which I like better for this project.
Although the stitch definition is great with cotton yarn, I don’t like it too much because it weighs more and if I can I will try to find a synthetic lightweight alternative that has a similar look to cotton yet carries no extra weight.
The Design
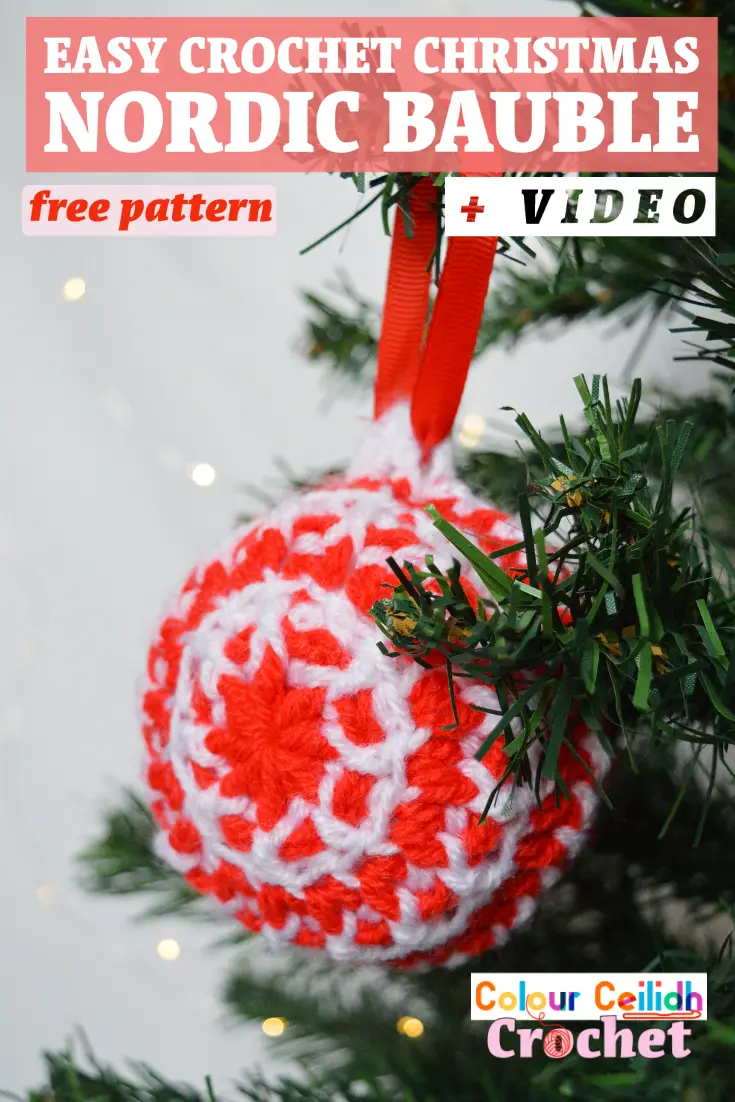
It’s a solid fabric bauble and the gaps between stitches are small enough to cover the toy stuffing sufficiently.
The bauble is also a nice handful of a size, lightweight and squishy, which makes it nice to handle and adds to its homemade charm.
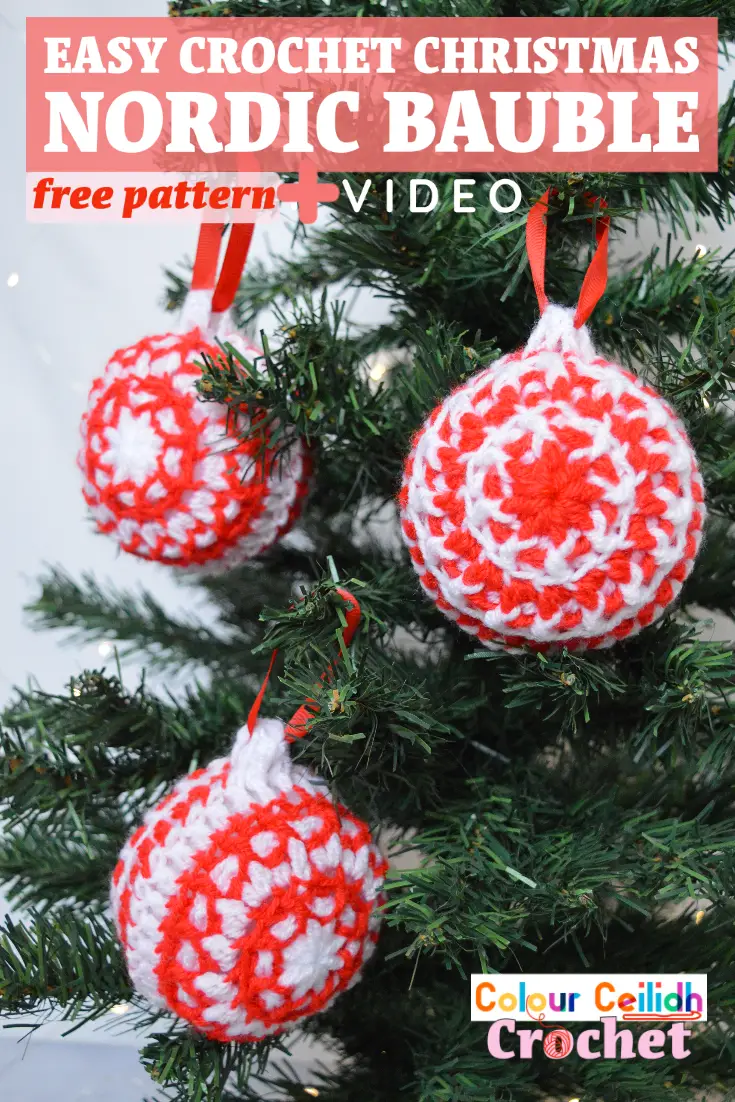
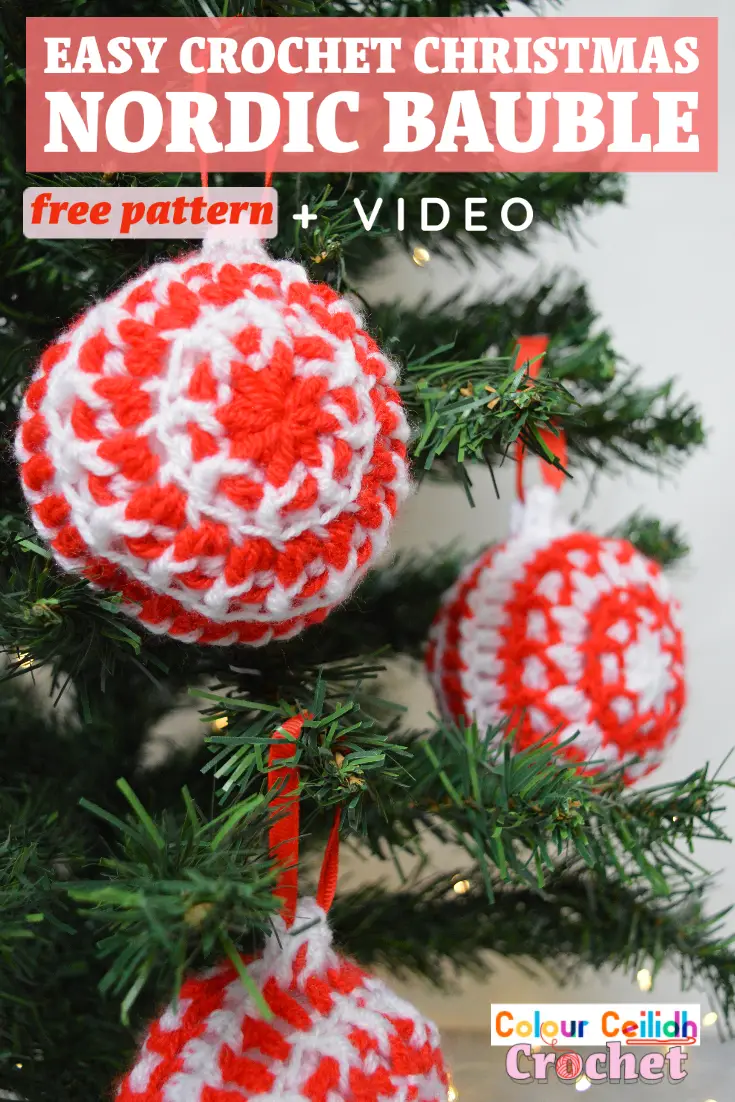
I have added a handy crochet cap too, to thread your ribbon through for hanging. It has enough space inside to hide the ribbon’s knot and it ties in perfectly with the rest of the bauble design. Resembling crochet ribbing of a crochet sweater, it’s very original yet practical.
The Stitches
I think that some parts of the bauble remind me of something that’s been knit, yet it shows off the beauty of crochet stitches so well that your guests will be immediately drawn to it when they see it hanging on your tree and your giftees will be absolutely impressed.
The use of simple crochet stitches with the help of a video makes this free pattern beginner friendly. The stitches are: double crochet, double crochet back loop only, front and back post double crochet and the occasional slip stitch.
What I love most about this pattern is the power of simplicity, which is also very much in the true spirit of Scandinavian and Nordic Christmas decorations.
The Video
This video tutorial is designed to accompany the written pattern found on this page below. It walks you through each round and each stage of making the bauble so you can make it alongside me and it helps you with stitch counting.
(Sorry about the kids in the background. Sometimes busy Mommy’s best is not quite the best but what can you do. There’s even a loud seagull at the end. Oh well!)
VIDEO: Crochet Christmas Decorations: Nordic Bauble
Easy Crochet Christmas Nordic Bauble: Free Pattern
- PIN it for later.
- Add this pattern to your Ravelry queue.
- Ready to crochet but don’t want the ads in your way? PRINT it here*.
* – a lovingly made PRINT FRIENDLY version for a small fee.
Description
Using simple yet effective crochet stitches in the true simplicity spirit of Scandinavian Christmas decorations, this beginner friendly and easy crochet Christmas Nordic bauble comes in traditional Nordic red and white complete with an eight pointed Nordic star in the middle. Featuring a video tutorial this DIY tree decoration is sure to stand out in your festive home decor, impress your guests and make an unforgettable handmade Christmas present.
Finished Measurements
The bauble measures approx 3.2″ in diameter and the ribbon loop is about 2″.
Pattern Notes
- Project difficulty: Easy
- Suitable for beginners who are familiar with the magic circle, slip stitch, double crochet, double crochet back loop only, front and back double crochet. Bear in mind that you could probably teach yourself what you don’t know in 30 min on Youtube and be able to make this bauble today.
- No plastic bauble required, no sewing, no turning, no breaking of the yarn needed between the rounds.
- Because of small amounts of yarn required and very basic colors that you are likely to have at home already, you can use this pattern as a stash buster to use up your old bits of yarn.
- The number in brackets at the end of the round is the stitch count.
- To change color between rounds the easiest way, do not break yarn but simply pull up the new color with the last time you yarn over and pull through in your last stitch (see video).
- The idea for joining the halves this way came from my favorite granny square joining method. For more details see my photo tutorial for how to join granny squares as you go.
Materials
- King Cole Pricewise DK (3 / light, 320 yards / 290 m, 3.5 oz / 100 g), approx 5 g of each color per bauble in Red and White
- Size H / 5 mm crochet hook
- Approx 10 g of toy stuffing per bauble
- Ribbon, 8″ – 9″ per bauble
- Scissors
Abbreviations (US Terms)
- blo: back loop only
- BPdc: back post double crochet
- ch: chain
- dc: double crochet
- FPdc: front post double crochet
- rep: repeat
- sl: slip
- sliding loop: magic loop, magic circle, adjustable loop, magic ring, adjustable ring, drawstring ring
- st: stitch
Pattern Overview
- Make the first half of the bauble.
- Make the second half of the bauble and seamlessly join as you go with the first half in the last round. Leave an opening, stuff the bauble and finish the round.
- Make the ribbed cap and attach the ribbon.
Pattern
The pattern is broken into the First Half, the Second Half and the Ribbed Cap.
First Half
Grab your Red and alternate the color in each round (so Red, White, Red, White, Red).
Begin with sliding loop.
Rnd1 Ch 3 (counts as dc), 15 dc in ring, sl st to top of ch-3. (16 dc)
Rnd2 Ch 2 (doesn’t count as st), *FPdc around post directly below, BPdc around next post; rep from * around, join with sl st to first FPdc. (16 = 8 FPdc + 8 BPdc)
Rnd3 Ch 3 (counts as dc-blo), dc-blo in same st, *2 dc-blo in next st; rep from * around, join with sl st to top of ch-3. (32 dc-blo)
Rnd4 Rep Rnd2. (32 = 16 FPdc + 16 BPdc)
Rnd5 Ch 3 (counts as dc-blo), *dc-blo in next st; rep from * around, join with sl st to top of ch-3, fasten off. (32 dc-blo)
Second Half
Start with White this time and repeat everything as with the First Half up to Rnd5.
Make about 2/3 of Rnd5, stuff the bauble and finish the round.
Rnd5 Ch 3 (counts as dc-blo), remove hook from loop, insert hook front to back through any gap between 2 posts in the last round of First Half, *pull up the loose loop and ch 1, dc-blo in next st, remove hook and insert it front to back through the next gap; rep from * around, ending your last rep with ch 1, join with sl st to top of ch-3, do not break yarn. (32 dc-blo)
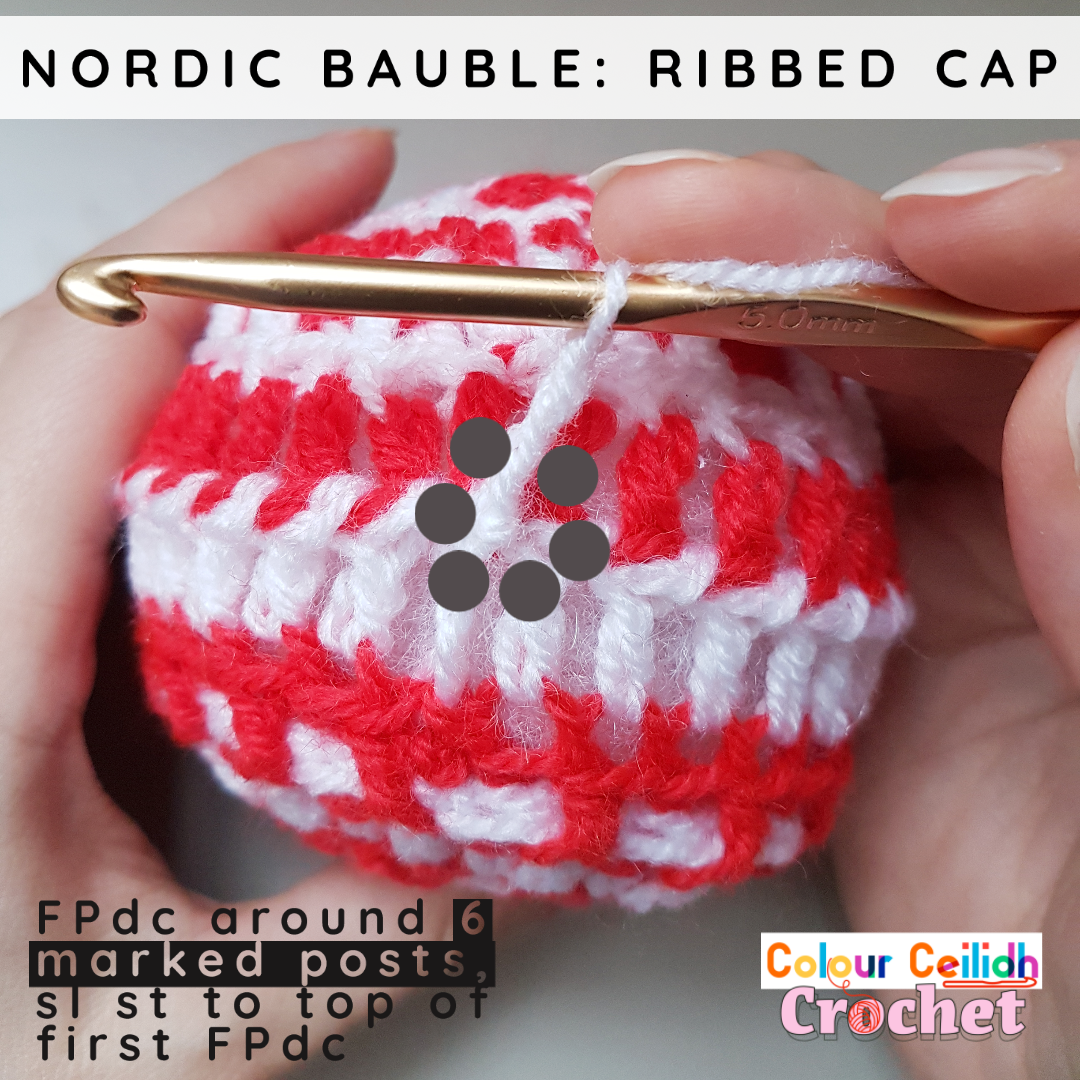
Ribbed Cap
The ribbed cap will be the same color as your first and last rounds of the second half. So if you followed the instructions above, you have White on the hook and you’re sitting at the top of the bauble having just completed the last round.
Ch 3, make 6 FPdc around the following posts starting with the one you feel is nearest (like the ch-3 from the last round), sl st to first FPdc, fasten off:
Hide the yarn tail inside the bauble.
Take your ribbon and guide it through the cap with the help of the hook. Tie the ribbon into a loop and hide the knot inside the cap.
More Ideas
Here are some more free patterns for crochet baubles. Although this one requires sewing and an old bauble I love the look of these super colorful crochet Christmas bauble decorations by Set Free My Gypsy Soul. I really want to try out these simple origami Christmas baubles by Make My Day Creative. And these Robin Xmas tree baubles by Hooked On Patterns include a tutorial and are very cute.
Last year I have also made the granny square Christmas crochet gift parcel decoration (includes photo tutorials).
And why not try my mini Nordic bauble to complete the set.
Well Done!
I hope you enjoyed this free pattern for the easy crochet Christmas Nordic bauble.
If you did, please share the link to this post with your friends, subscribe to my email list (the form pops up when you click around or come back again), Pin your favourite image by hovering over it and follow me on Pinterest so you never miss a pin, like my Facebook page and follow me on Instagram to see behind the scenes and for more color in your life.
Happy crocheting!
Justina