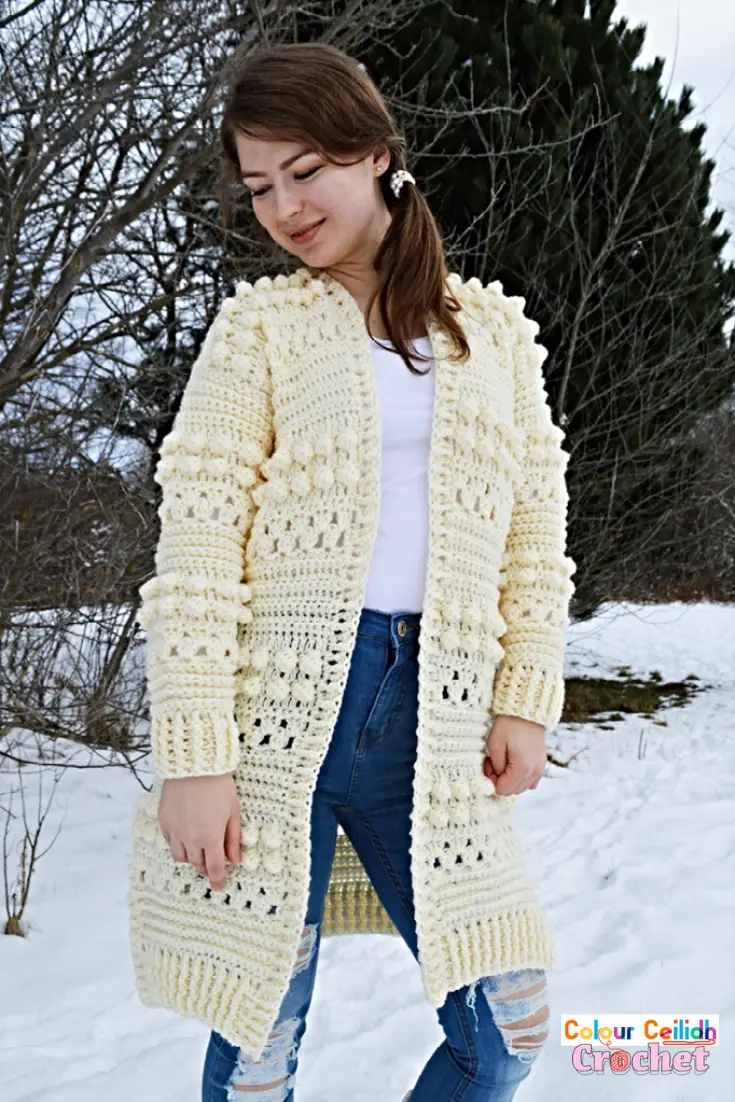
This crochet cardigan Bobbles of Snow is a fun collection of granny and bobble stitches to create an easy and free pattern for the winter.
Simply make three rectangles and the sleeves, seam and add ribbing!
This post contains affiliate links to products. I may receive a small commission for purchases made through these links.
Yarn
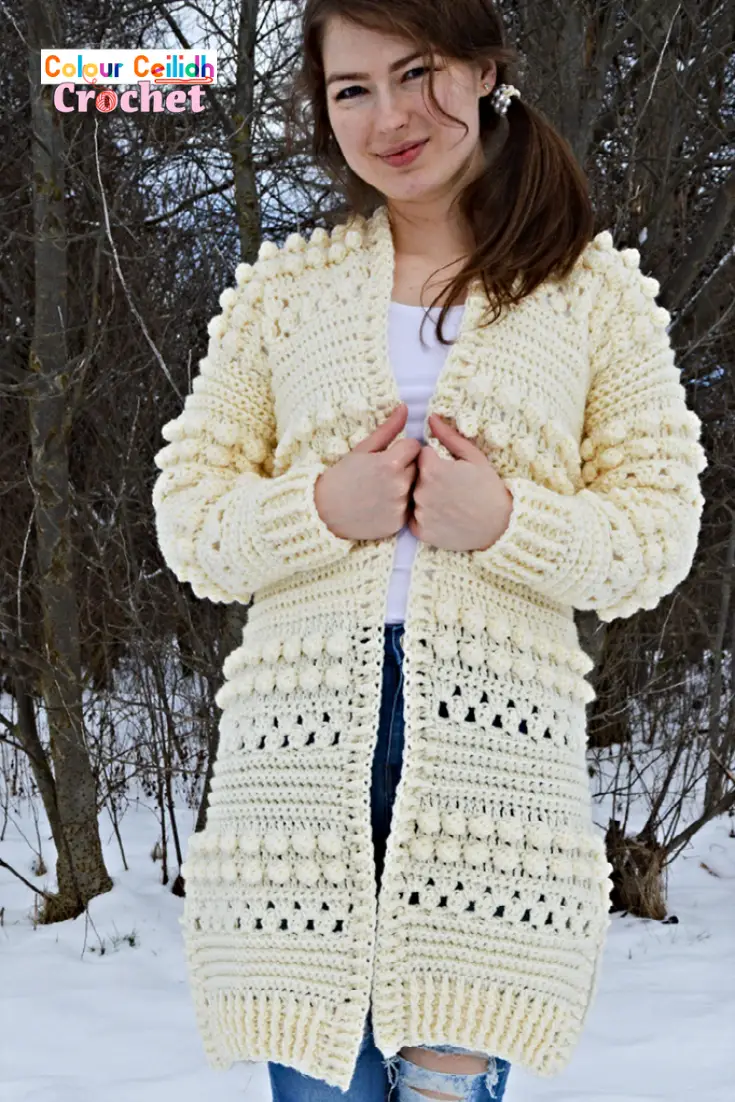
I’m using Lion Brand Vanna’s Choice in Fisherman, which looks great as a cozy winter cardigan color.
Stitches
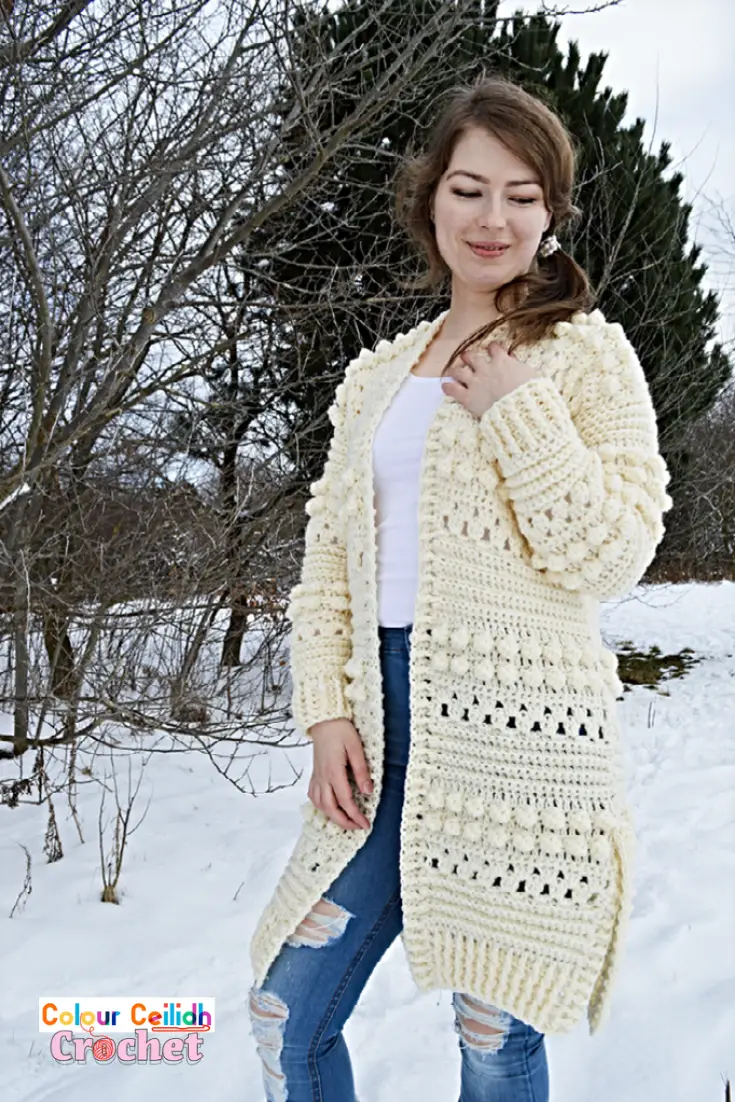
This pattern uses the bobble stitch and the granny stitch, as well as single crochet and double crochet stitches. The ribbing is created using the front and back post double crochet.
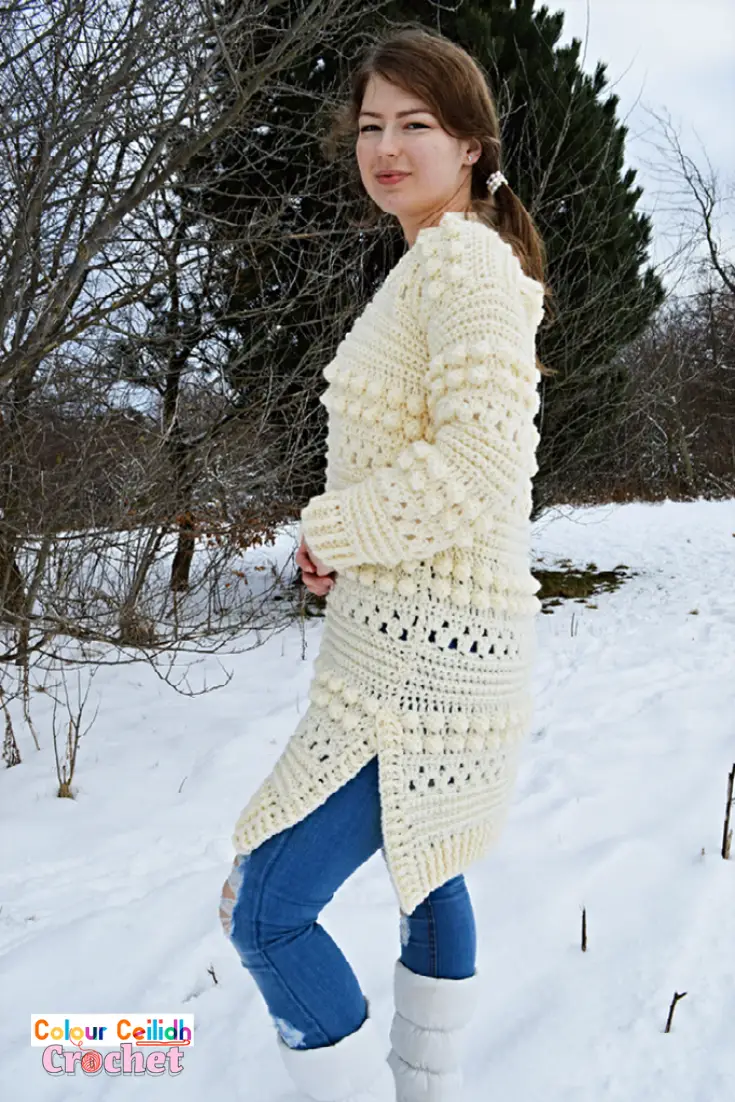
Crochet Cardigan Bobbles of Snow – Free Pattern
- PIN it for later.
- Add this pattern to your Ravelry queue.
- Ready to crochet but don’t want the ads in your way? PRINT it here*.
* a lovingly made print friendly version for a small fee.
Description
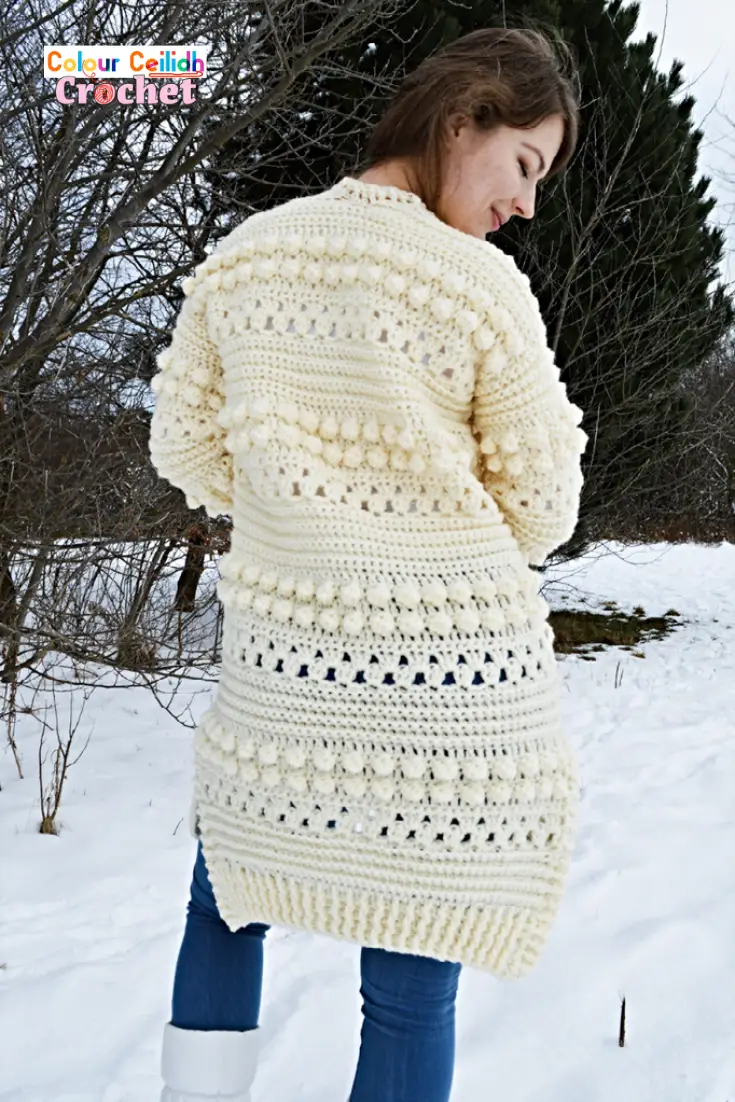
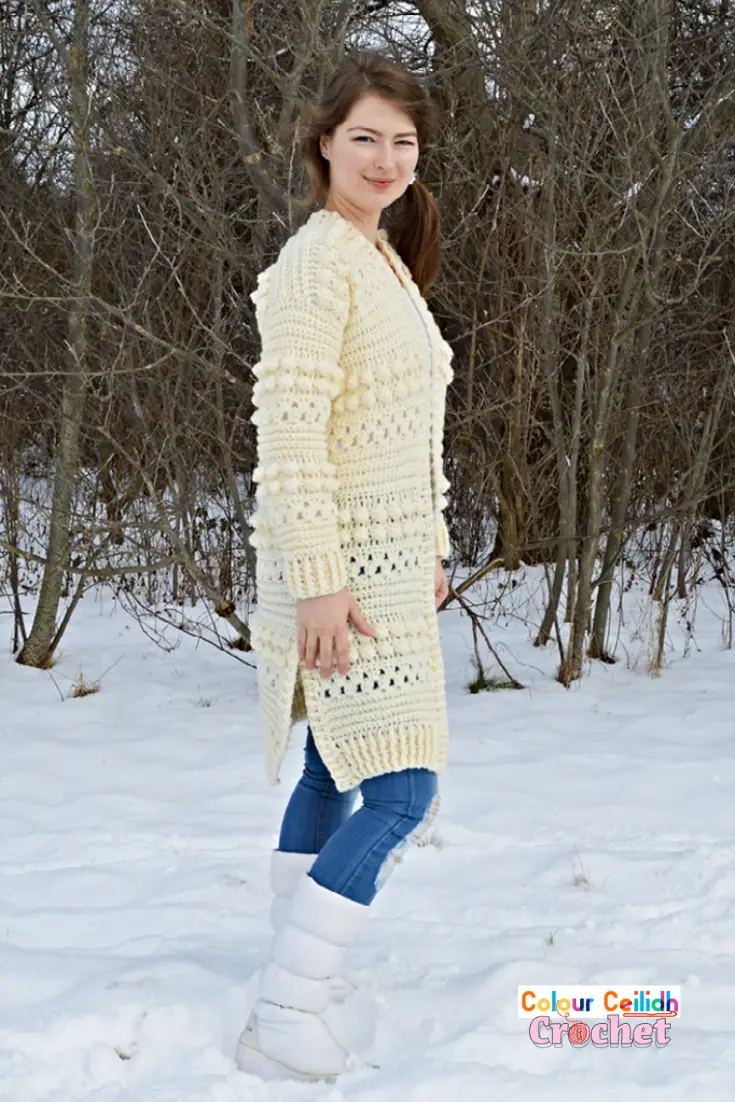
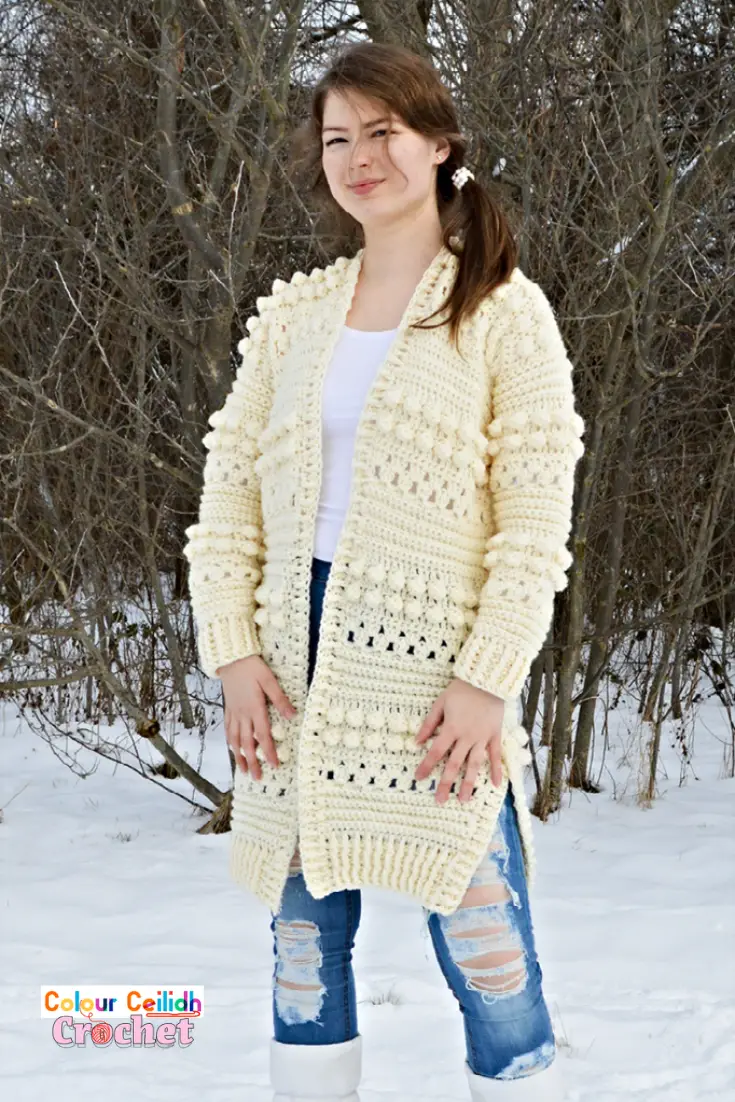
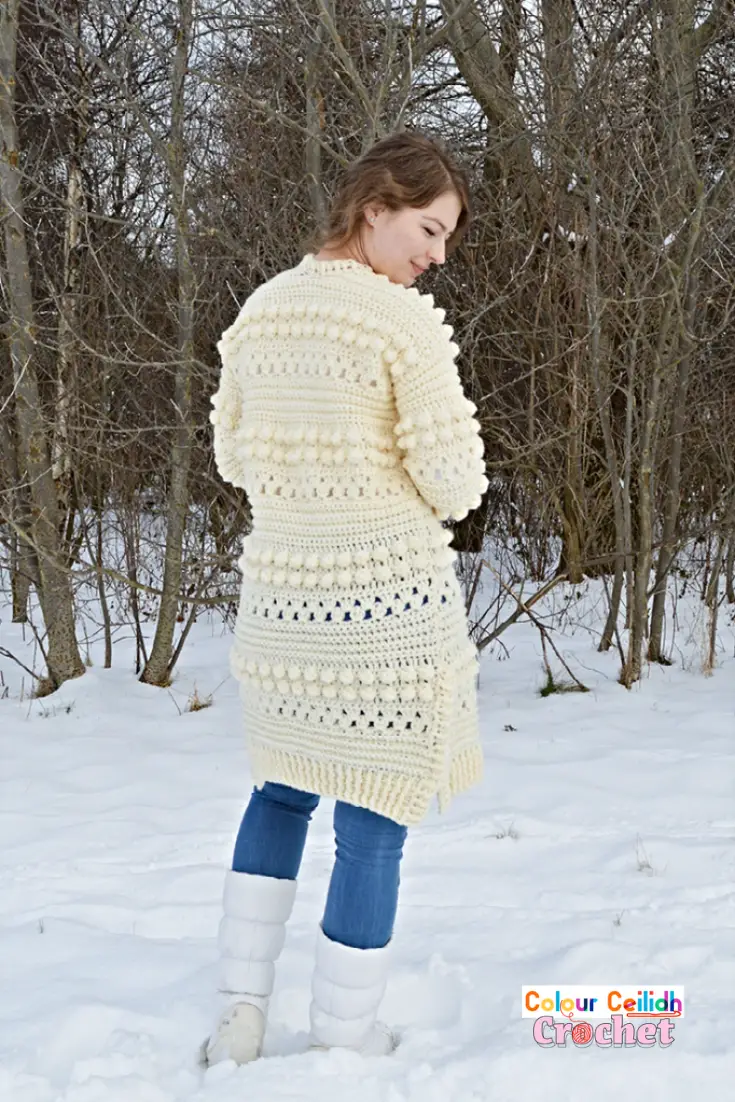
This free pattern for my crochet cardigan Bobbles of Snow is fun & easy to make as it uses the granny stitch and the bobble stitch to create cozy texture for the winter season. This is an open front long cardigan with added side slits for comfort and style. Includes a video tutorial.
Sizes
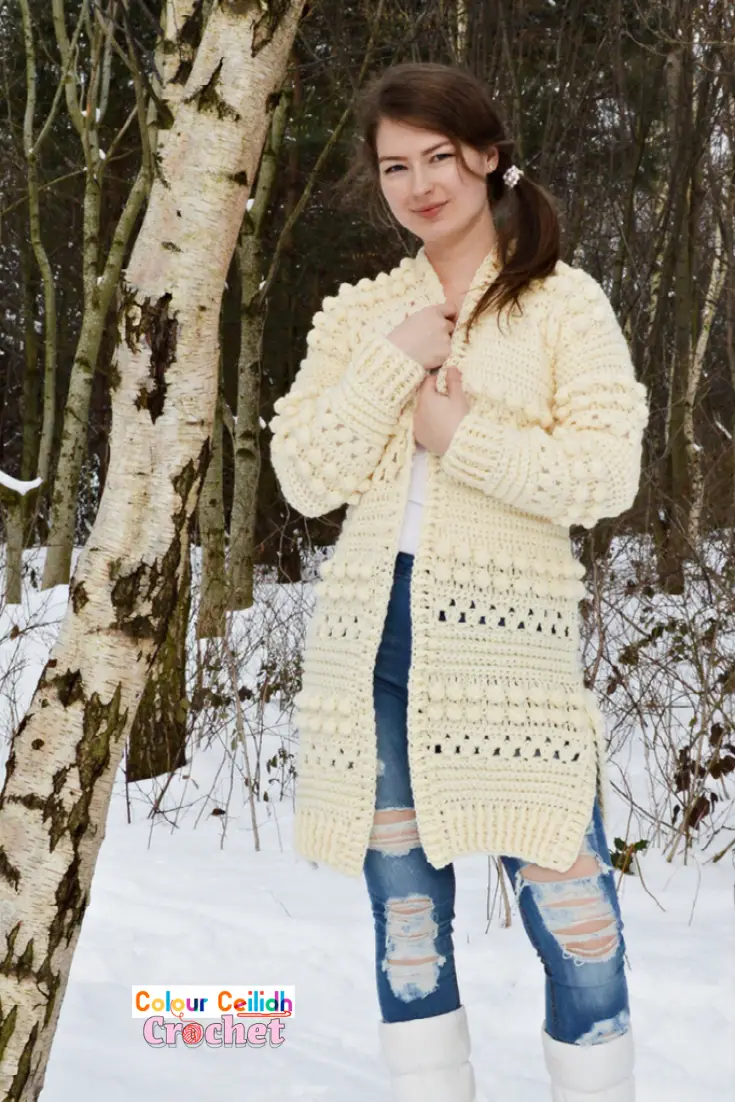
This cardigan is available in 9 sizes: XS, S, M, L, XL, 2X, 3X, 4X, 5X.
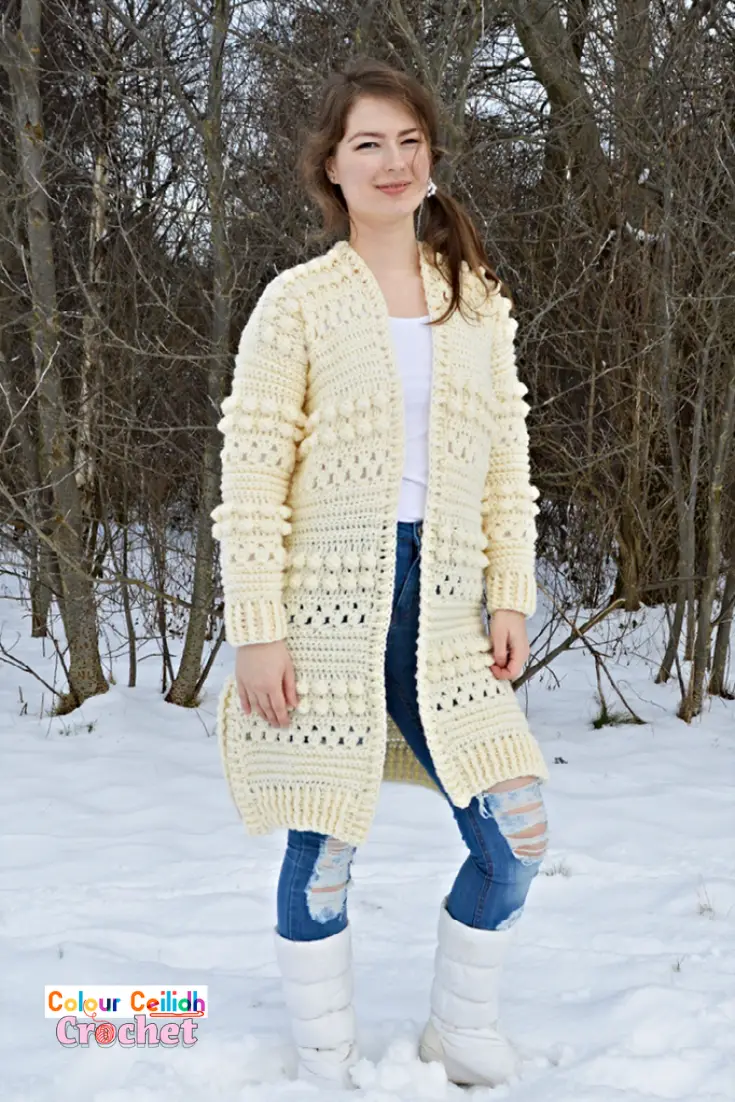
The cardigan is approx 34″ long. Model is 5’7″, wears and is a size M.
Care Instructions
The Lion Brand Vanna’s Choice yarn is a 100% acrylic. It’s machine washable at 30 C / 86 F.
Pattern Notes
- Project Level: Easy!
- If you have any questions, check the video (link below).
- The long sequence of numbers in the pattern corresponds to the 9 sizes starting from XS and ending with 5X, with XS being placed first and then others arranged in ascending order in brackets and separated by commas.
Crochet Cardigan Bobbles of Snow Video Tutorial
VIDEO TUTORIAL: Crochet Cardigan Bobbles of Snow | Easy Long Cardi With Side Slits & Ribbing
This video will help you see how to build a simple crochet cardigan shape out of rectangles.
Materials
- Lion Brand Vanna’s Choice (4 / Medium / Aran weight, 100 g / 3.5 oz, 156 m / 170 yd, 100% acrylic): 8 (8, 9, 10, 12, 13, 14, 15, 16) skeins in Fisherman.
- 9 mm hook.
- Scissors.
- 8 stitch markers.
Gauge
There are approx 12 sts and 15 rows per 4″ X 4″ square in sc-blo.
Abbreviations (US Terms)
- blo: back loop only
- BPdc: back post double crochet
- ch: chain
- dc: double crochet
- dc5tog: double crochet five together, or a bobble. Make 5 partial double crochet stitches in the indicated stitch then yarn over and pull through all loops on the hook. To make one partial double crochet stitch: yarn over, insert the hook in the indicated stitch, yarn over, pull up a loop, yarn over, pull through two loops on hook.
- FPdc: front post double crochet
- rep: repeat
- sc: single crochet
- sl: slip
- st: stitch
- t: turn
Pattern Overview
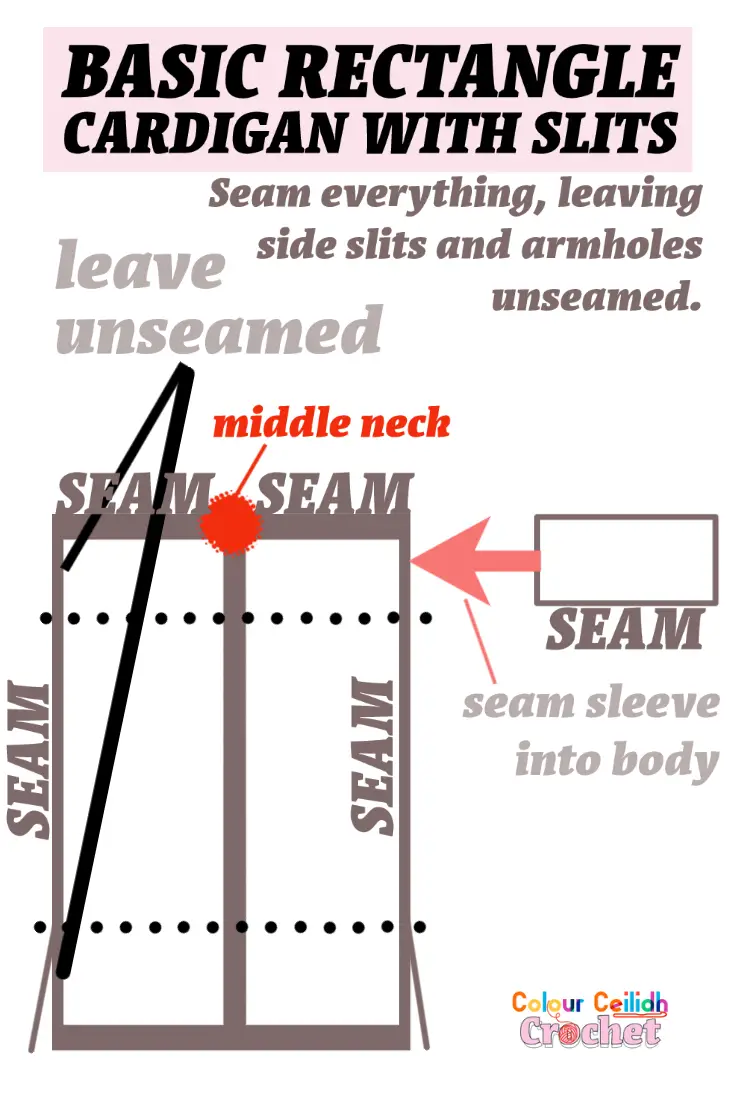
- Make 3 rectangles & sleeves.
- Mark side slits & armholes.
- Seam everything, leaving side slits and armholes unseamed.
- Add ribbing: sleeves, bottom, slits and front.
1. Make 3 Rectangles & Sleeves.
Make the back rectangle, two front rectangles and two sleeves.
Back & Front Rectangles
Make 1 back rectangle & 2 front rectangles.
For the back rectangle, ch 47 (50, 53, 59, 68, 74, 77, 80, 86).
For the front rectangles, ch 23 ( 26, 26, 29, 35, 38, 41, 41, 44).
Work the pattern repeat below until you have the same amount of rows for both back & front rectangles: 65 (67, 68, 69, 70, 71, 71, 73, 73).
Pattern Repeat
This pattern is a multiple of 3 +2. The stitch count is the base ch minus 1 in sc rows.
Row1 Sc in 2nd ch from hook and in every st, t.
Row2 Ch 1, sc-blo in same st and in every st, t.
Rows 3 – 8 Rep row2.
Row9 Ch 3, dc in same st, *skip 2 sts, 3 dc in next st; rep from *, 2 dc in last st, t.
Row10 Ch 3, *3 dc in next space; rep from *, dc to top of ch-3, t.
Row11 Ch 1, sc in same st, *sc in next st twice, sc in space between 3 dc clusters; rep from *, ending rep with sc in last space, t.
Row12 Ch 3, dc in same st and in every st, t.
Row13 Ch 1, sc in same st, *dc5tog in next st, sc in next st twice; rep from *, ending last rep with second sc, t.
Rows 14 – 16 Rep rows 12 & 13, then rep row 12 again.
Row17 Ch 1, sc in same st and in every st, t.
Rep rows 2 – 17 until you have the required length of your rectangle.
Sleeves
Make 2 sleeves.
Ch 23 (23, 26, 29, 32, 32, 35, 38, 38).
Begin the pattern repeat as usual but start increasing in row2, see below.
In the following rows, add extra 3 sts per row (by crocheting 2 sts in same st in: 2nd st, somewhere in the middle and last st):
XS, S: rows 2, 4, 18, 20. M, L, XL: rows 2, 4, 18. 2X, 3X, 4X, 5X: rows 2, 4, 6, 18, 20.
Make 38 (39, 39, 39, 33, 31, 31, 32, 30) rows in total.
2. Mark Side Slits & Armholes
Using stitch markers, mark how many rows to leave unseamed for side slits and armholes.
How Many Rows to Leave Unseamed for the Side Slits?
Counting from the bottom, leave 14 (15, 15, 15, 15, 16, 16, 16, 16) rows unseamed for the side slits.
How Many Rows to Leave Unseamed for the Armholes?
Counting from the top, leave 14 (14, 14, 15, 18, 19, 21, 23, 23) rows unseamed for the armholes.
3. Seam
Seam everything, leaving side slits and armholes unseamed.
Start with sides. With a stitch marker mark the middle neck point, so you know where the front rectangles are supposed to meet. Seam shoulders. Seam sleeves and seam sleeves into the body.
4. Add Ribbing
Add ribbing: sleeves, bottom, slits and front.
How Many Rows of Ribbing to Add to the Sleeves & Bottom of the Cardigan?
Add 6 (6, 6, 7, 7, 8, 8, 9, 9) rows of ribbing to sleeve cuffs and the bottom of the cardigan.
How Many Rows of Ribbing to Add to the Side Slits & Cardigan Front?
2.
Ribbing Pattern Repeat
To join new yarn, I used the slip stitch join (also see the video).
Row1 Ch 3, dc in same st, dc in the space behind end-of-row post for every sc row and 2 dc in the space behind end-of-row post for every dc row, t.
Another way to describe row1 is: Ch 3, dc in same st, dc in every space behind end of row stitches, placing 2 dc in every space where end of row was a dc or ch-3, t.
Row2 Ch 2, skip first post, *FPdc around next post, BPdc around next post; rep from *, t.
Row3 Rep row2, making sure to match FPdc with FPdc and BPdc with BPdc to continue creating the ribbing ridges.
Rep row3 (where needed) to the required length of ribbing.
Sew the tops of the side slits together by overlapping the front slit ribbing with the back slit ribbing (see the video).
Weave in the ends.
More Ideas
DIY Crafts has compiled 70 Free Crochet Cardigan Patterns to Try This Season and they have some nice ones, too. The Blathnaid Crochet Cardigan is gorgeous by Crochet with Carrie. And I love this Light Snow Oversized Cardigan by Mama in a Stitch.
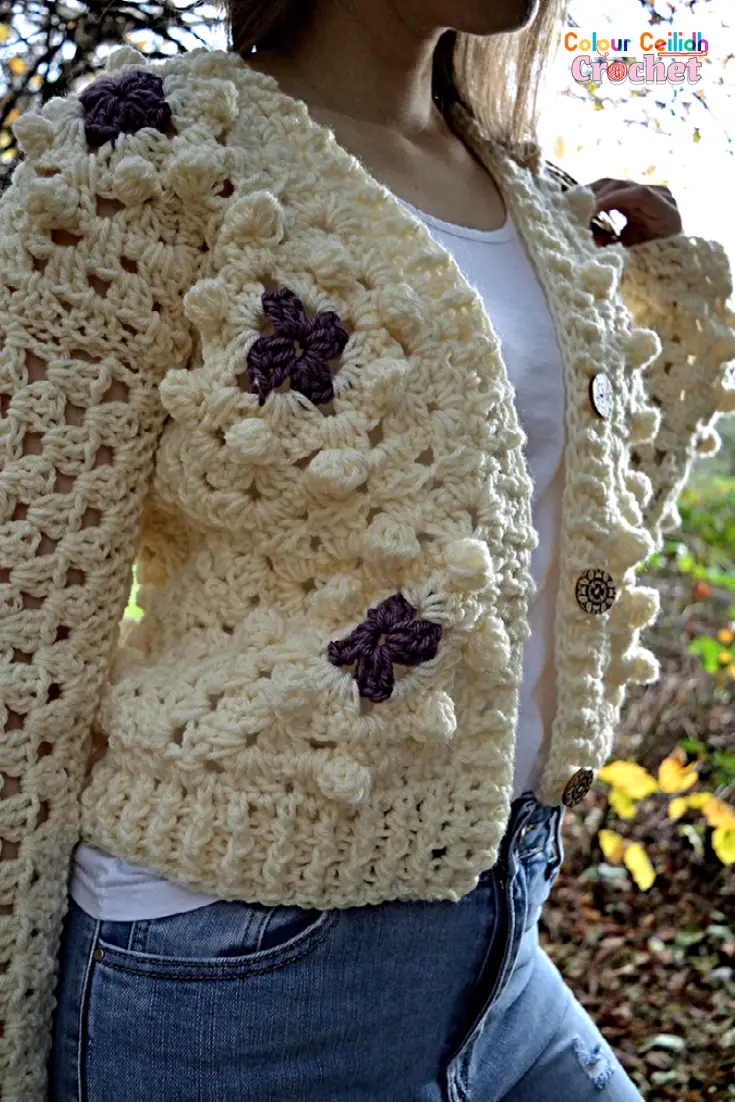
Finally, this is my Bobble Diamonds cardigan made from granny squares.
Well Done!
I hope you enjoyed this free crochet pattern for my crochet cardigan Bobbles of Snow. What type of cardigan should I crochet next? See you in my next pattern!
Happy crocheting!
Justina
