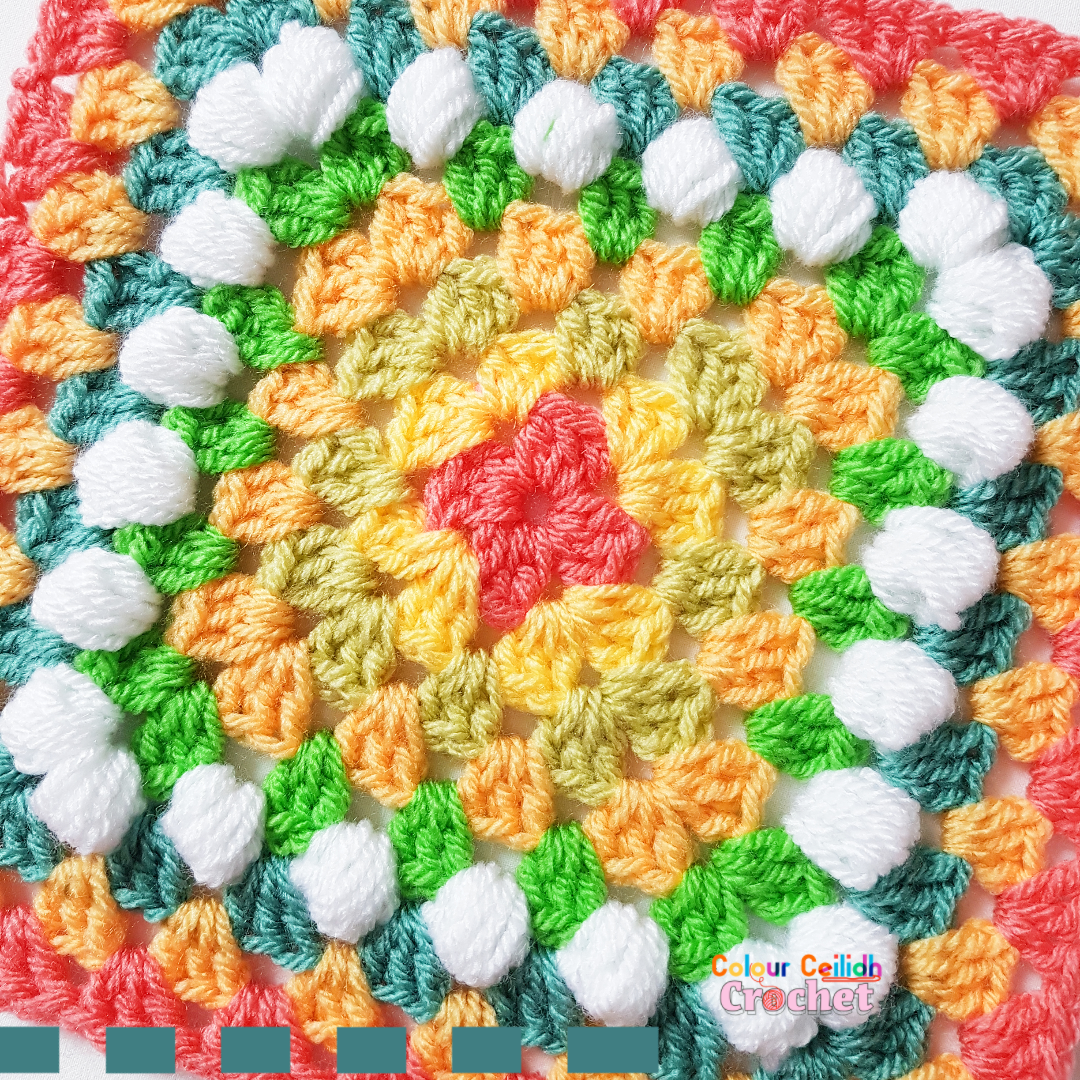
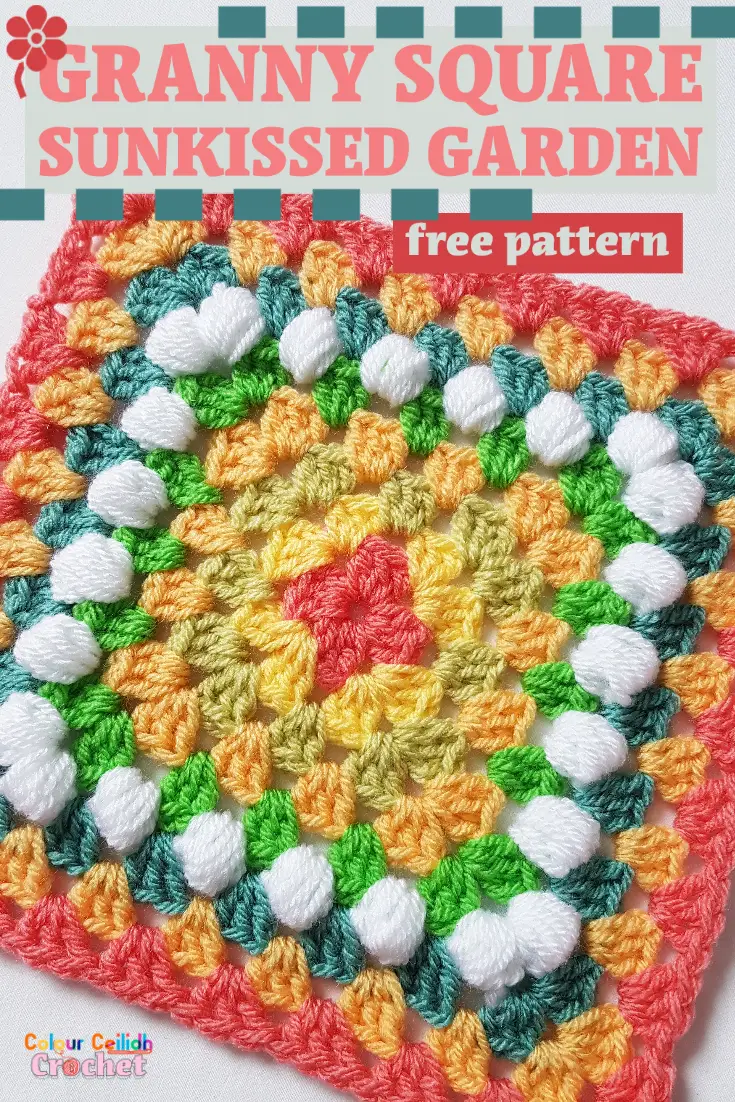
This granny square Sunkissed Garden pattern uses bright & bold color combos that make me think of a sunny garden on a hot summer’s day. This granny square also makes a simple and easy afghan block!
This post contains affiliate links to products. I may receive a commission for purchases made through these links.
Gauge & Pattern Notes
This granny square measures 20 cm / 7.9 in across.
If you change the yarn color in every round, soon there might be too many ends to weave in which might make you feel defeated. Not to worry though, try crocheting over your yarn tails as-you-go. To do this, simply lay your yarn ends on top of the previous row, and crochet right over them. This way they’ll blend in and disappear out of sight in no time.
If you prefer a photo tutorial how to crochet over the ends, My Poppet has a nice blog post.
UPDATE: Here’s how I change yarn color now, so that there are no tails to weave in between rounds. If you use this method, you might not need to use the slip stitch join. Check out my tutorial How To Change Yarn Color In Crochet!
Materials
- Yarn, in weight 3/ light/ DK/ light worsted. I used Stylecraft Special DK in Shrimp, Citron, Pistachio, Saffron, Grass Green, White and Sage.
Get your yarn HERE from Deramores. OR GET YOUR YARN HERE AT LOVE CRAFTS!
- Crochet hook, size H/ 6/ 5 mm.
- Scissors.
- Measuring tape.
Glossary & Abbreviations
- ch: chain
- dc: double crochet
- hdc: half double crochet
- hdc5tog (puff stitch): half double crochet 5 together. [Yarn over, insert hook into indicated stitch/ space, draw up a loop (stretch it to at least hdc height)] five times, yarn over, draw yarn through all 11 loops on hook
- rep: repeat
- rnd: round
- sc: single crochet
- sl: slip
- slip stitch join: with the new colour yarn make a slip knot on your hook, insert the hook into the indicated stitch/space, yarn over, draw up a loop and pull through the slip knot. You’ve just joined a new colour. Continue as per pattern, for example, ch 3 etc. Check out my tutorial How To Join New Yarn With A Slip Stitch.
- st: stitch
- t: turn
- yo: yarn over

Granny Square Sunkissed Garden
With Shrimp, begin with ch 5, sl st to ch-1 to form a ring.
Rnd1 (Shrimp) Ch 3 (counts as dc), 2 dc in ring, *ch 1 (corner space made), 3 dc in ring; rep from * two more times, join with sc to top of ch-3.
Rnd2 (Citron) Ch 3 (counts as dc), (2 dc, ch 1, 3 dc) in same space (corner made), *(3 dc, ch 1, 3 dc) in next space (another corner made); rep from * two more times, join with sl st to top of ch-3.
Rnd3 (Pistachio) Ch 3 (counts as dc), 2 dc in same space, *(3 dc, ch 1, 3 dc) in next space (corner made), **3 dc in next space; rep from * around, ending your last rep at **, join with sl st to top of ch-3.
Rnd4 (Saffron) [Work ch 3 the first time, and dc thereafter (counts as dc), 2 dc] in every non-corner space and (3 dc, ch 1, 3 dc) in every corner space around, join with sl st to top of ch-3.
Rnd5 (Grass Green) Same as Rnd4. Fasten off and turn.
Join White with a slip stitch in any space.
Rnd6 (White) [Work ch 2 the first time, and hdc thereafter (counts as hdc), hdc5tog, hdc] in every non-corner space and (hdc, hdc5tog, hdc, ch 3, hdc, hdc5tog, hdc) in every corner space around, join with sl st to top of ch-2. Fasten off, t.
Join the Sage with a slip stitch in any space.
Rnd7 (Sage) Same as Rnd4.
Rnd8 (Saffron) Same as Rnd4.
Rnd9 (Shrimp) Same as Rnd4. Fasten off.
If you want to make a blanket with these granny squares, you might be interested in my tutorials how to join granny squares as you go and bow tie pasta join for a cute decorative touch.
I hope you enjoyed your Sunny Colour Journey with my Granny Square Sunkissed Garden.
Well Done!
I really appreciate you visiting here, so a big thank you!
If you enjoyed my free pattern for this granny square, please share the link to this post with your friends, subscribe to my email list (the form pops up when you click around or come back again), Pin your favourite image by hovering over it and follow me on Pinterest so you never miss a pin, like my Facebook page and follow me on Instagram to see behind the scenes and for more color in your life.
Happy crocheting!
Justina

