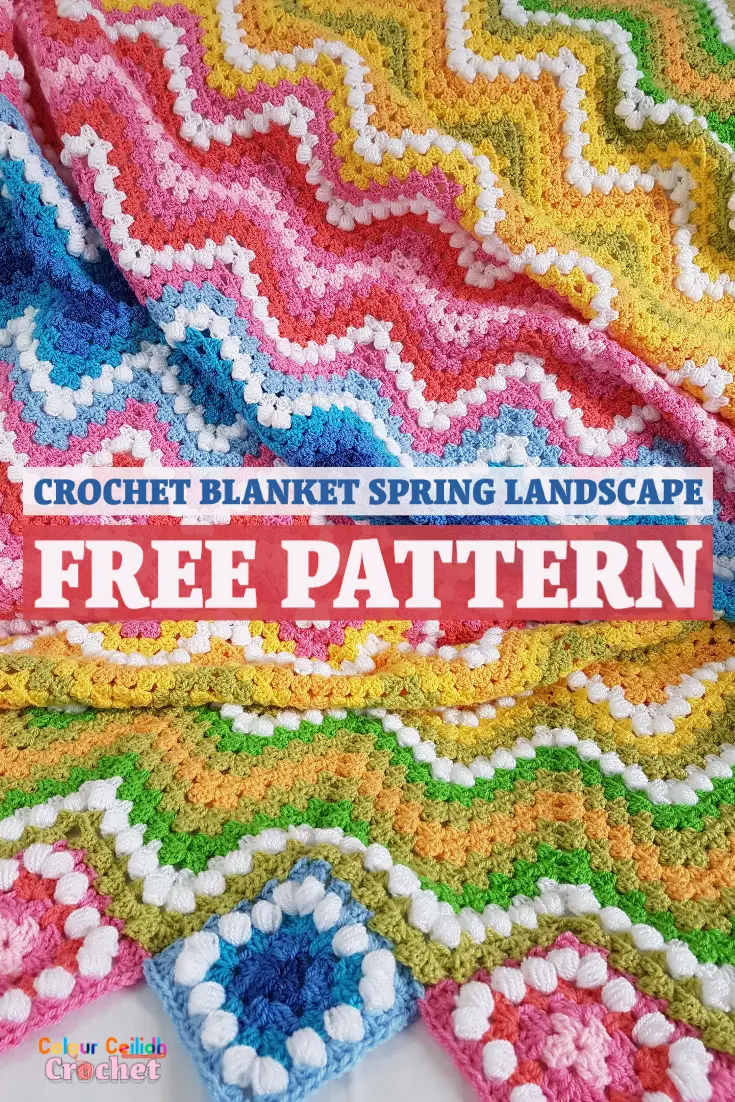
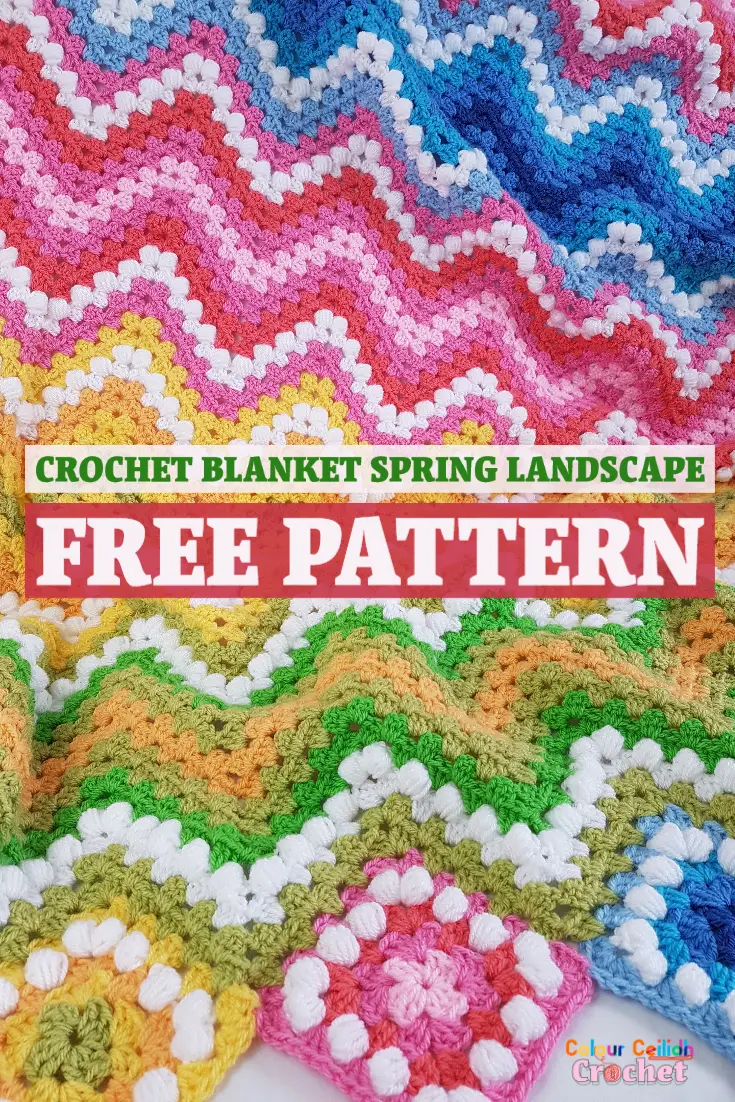
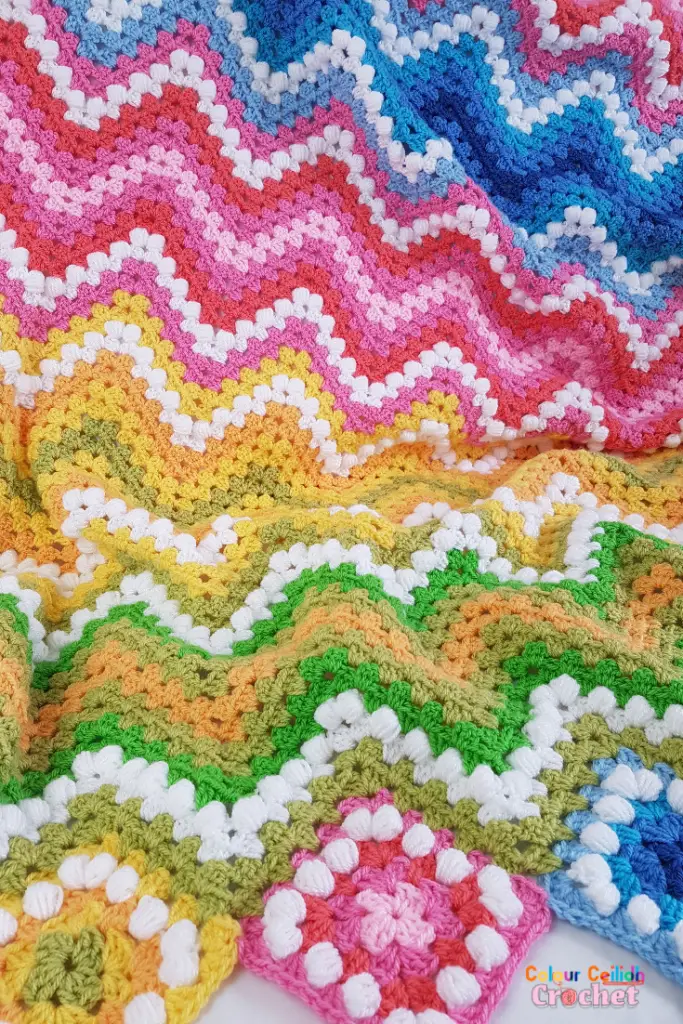
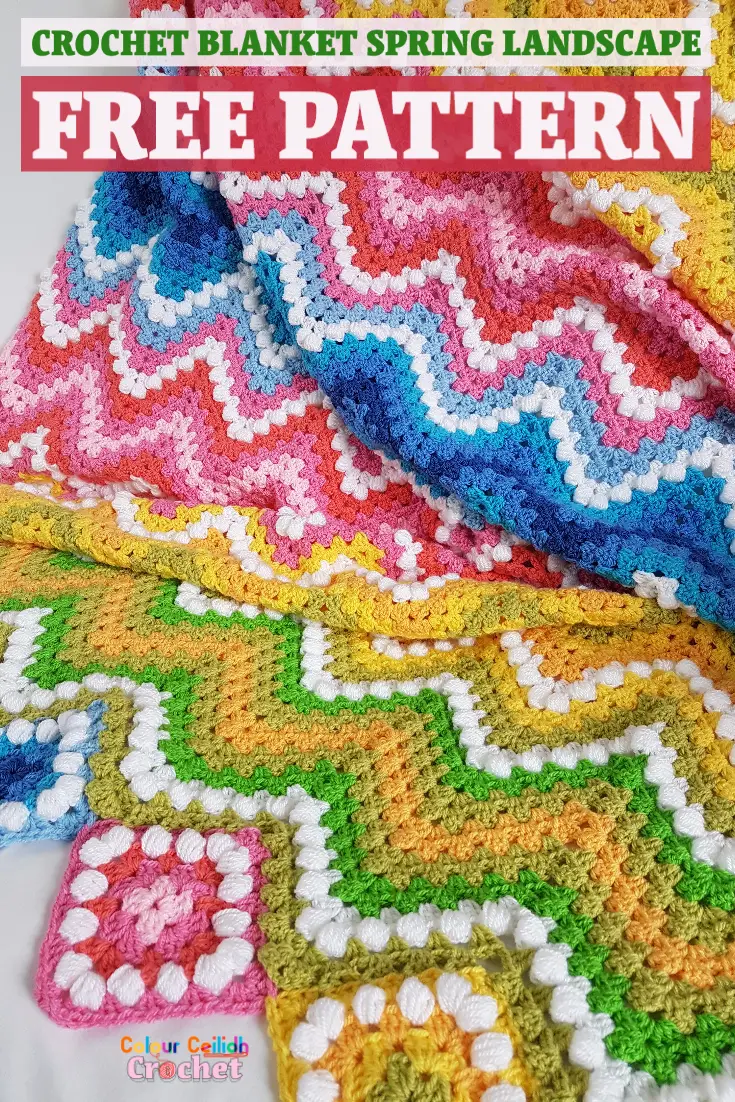
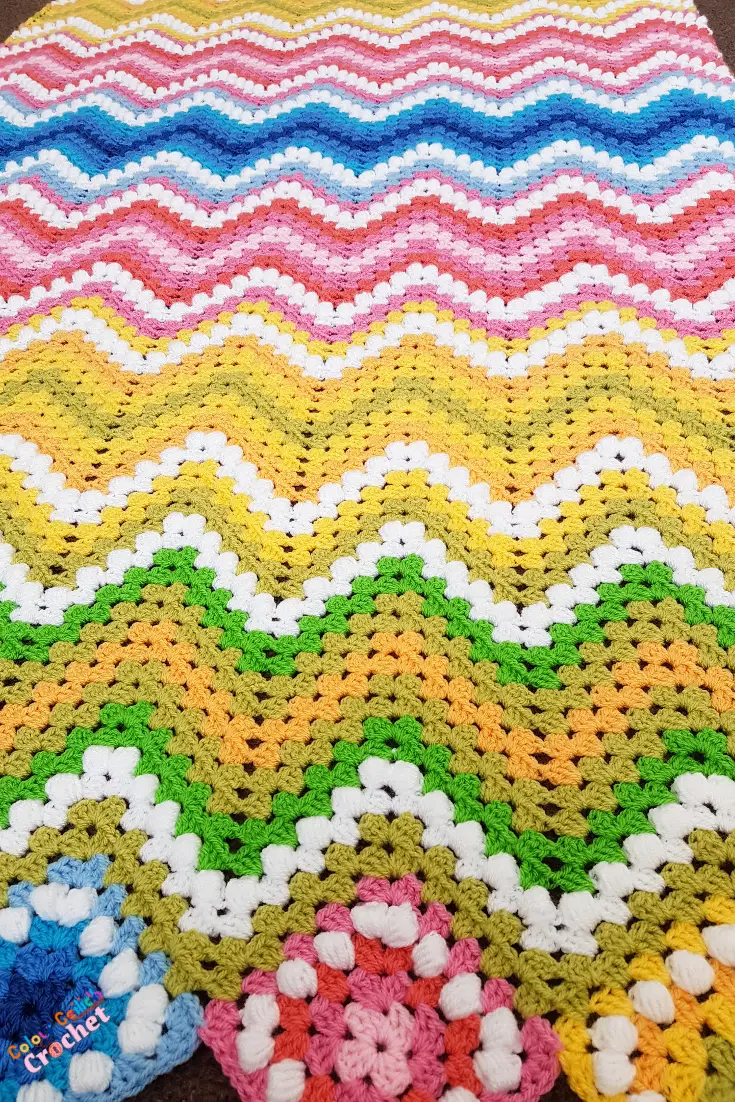
This crochet ripple blanket and throw Spring Landscape uses bright and pastel spring colours that remind me of the yellow and pink garden flowers that bloom in spring. Green of course is for the new grass, blue is for the blue skies and the sea and white in granny and puff stitches is for the last of the winter snow. Make this beginner friendly granny ripple afghan to brighten up a sad looking armchair in the corner and to brighten up your day!
This post contains affiliate links to products. I may receive a commission for purchases made through these links.
This blanket / throw is a little long and a little narrow, which makes it perfect for brightening up a tired looking armchair sitting in the corner as finally you’ll have something to cover up all the unsightly bits all the way down to the ground (just check that you’re happy with the width). It also covers up your entire height when you lie underneath it, or on top of it!
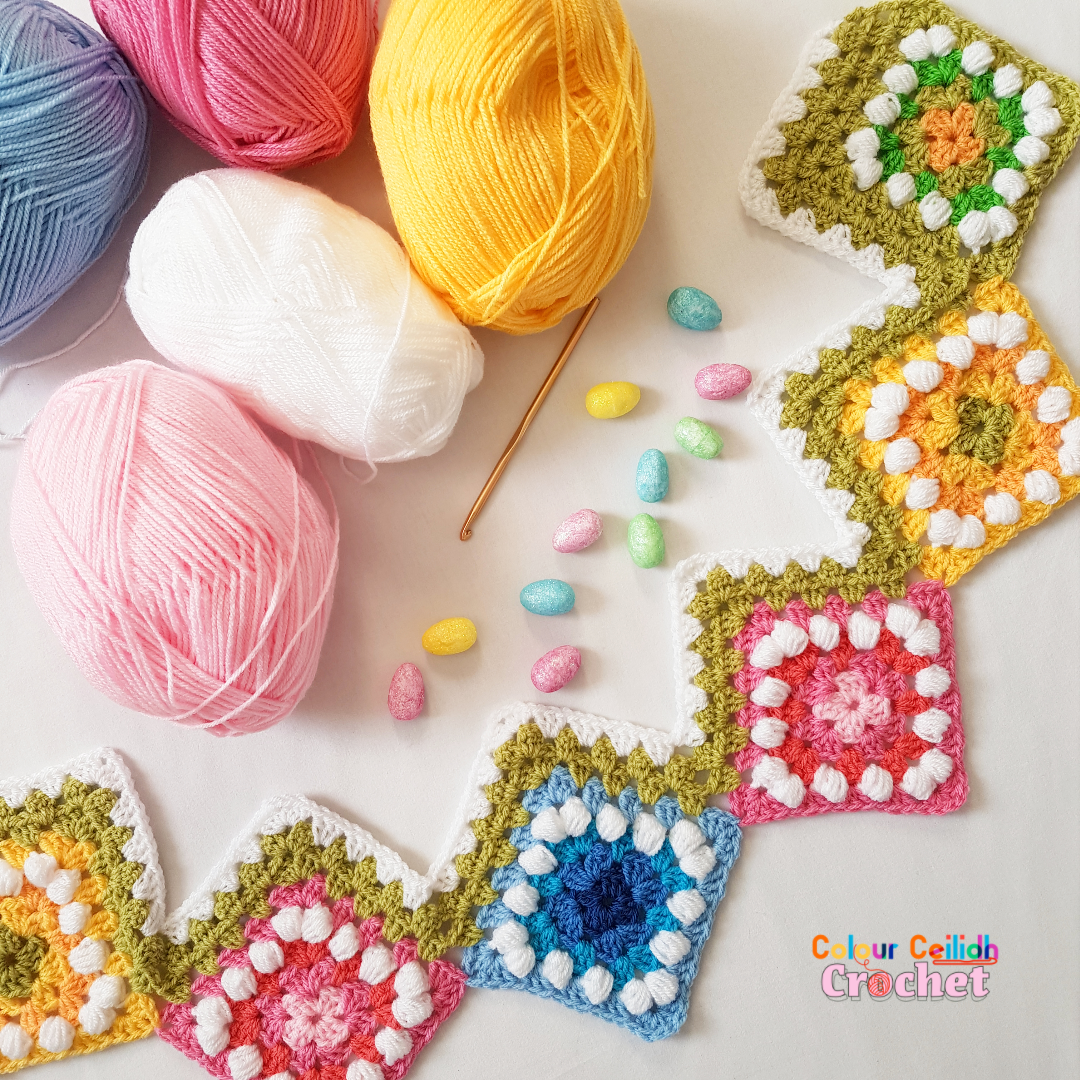
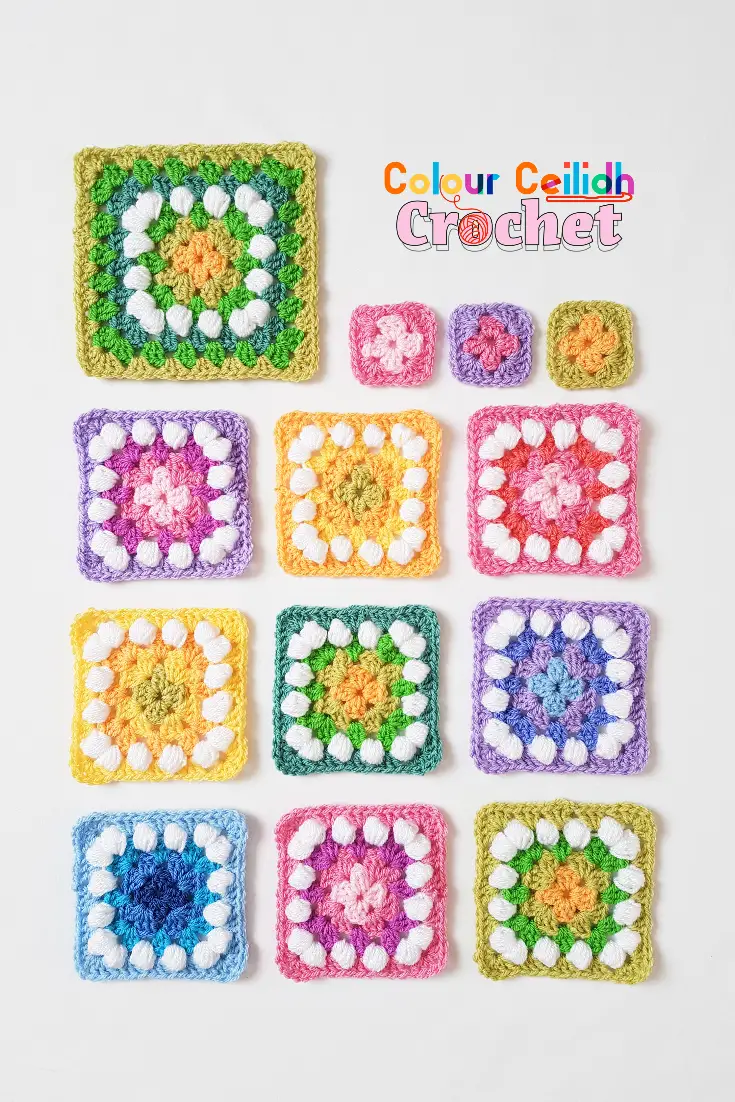
The colour palette is inspired by my Easter granny squares (below). They were so bright and beautiful that I wanted to make something with them!
Gauge & Pattern Notes
Each granny square measures about 11cm / 4.3 in wide. And the blanket measures about 204 x 104 cm / 80.3 x 40.9 in.
Two rows = one stripe
Project level: easy
If you change the yarn color every round or every stripe, soon there might be too many ends to weave in which might make you feel defeated. Not to worry though, try crocheting over your yarn tails as-you-go. To do this, simply lay your yarn ends on top of the previous row, and crochet right over them. This way they’ll blend in and disappear out of sight in no time.
In this video I show you how I crochet over the yarn ends as-I-go. [link coming up]
If you prefer a photo tutorial how to crochet over the ends, My Poppet has a nice blog post.
UPDATE: Here’s how I change yarn color now, so that there are no tails to weave in between stripes. If you use this method, you might not need to use the slip stitch join. Check out my tutorial How To Change Yarn Color In Crochet!
Each stripe takes about half an hour to complete, one granny square – about 20 min. But really crocheting this blanket is a beautiful journey of color and it’s all about relaxation and losing yourself in time… So even if you have 10 min, 30 min, 1 hr every day, time will stop while you crochet and the world will stand still.
About The Color Sequence
Once you set up your bottom edge granny squares, from then on you can switch your autopilot on, because the color sequence is coded into the squares.
You start looking at the squares from right to left starting at the right edge of the right square (Pistachio), and you make a stripe in Pistachio. Next, there’s a round of the White puff stitch, so make a row of White granny stitch and as you come back, make a row of White puff stitch = your second stripe. Then there’s Grass Green, make a stripe of Grass Green. Then a stripe in Pistachio, a stripe in Saffron, a stripe in Pistachio, a stripe in Grass Green, and you keep on travelling along the rounds of granny squares, making a stripe for each color as the color of each round changes.
In the picture below, the next stripe is in Citron, because the first square’s colorway is complete and this is where the two squares meet. And here you begin your next block of stripes, just like you did with the first square, Citron, White, Saffron, Citron, Pistachio, Citron, Saffron, White, Citron.
I know that the turning chain equivalent for a treble is a chain 4, but from practice and experimenting with granny ripple blankets it looks just right to start each row with a chain 3 and end with a treble.
Materials
- Yarn, in weight 3/ light/ DK/ light worsted. I used Stylecraft Special DK in White (4x 100g), Citron (2x 100g), Saffron (100g), Pistachio (2x 100g), Candyfloss (100g), Fondant (2x 100g), Shrimp (100g), Grass Green (100g), Lapis (100g), Turquoise (100g), Aster (100g), and Cloud Blue (100g). OR GET YOUR YARN HERE AT LOVE CRAFTS!
- Crochet hook, size H/ 6/ 5 mm.
- Scissors.
- Measuring tape.
Glossary & Abbreviations
- ch: chain
- dc: double crochet (yarn over once)
- hdc: half double crochet
- hdc5tog (puff stitch): half double crochet 5 together. [Yarn over, insert hook into indicated stitch/ space, draw up a loop (stretch it to at least hdc height)] five times, yarn over, draw yarn through all 11 loops on hook
- rep: repeat
- rnd: round
- sc: single crochet
- sl: slip
- slip stitch join: with the new colour yarn make a slip knot on your hook, insert the hook into the indicated stitch/space, yarn over, draw up a loop and pull through the slip knot. You’ve just joined a new colour. Continue as per pattern, for example, ch 3 etc. Check out my tutorial How To Join New Yarn With A Slip Stitch.
- st: stitch
- t: turn
- tr: treble/ triple crochet (yarn over 2 times)
- yo: yarn over
Overview
This blanket can be made in 5 easy steps:
- Bottom Edge: make 7 granny squares for the bottom edge of the blanket and join them together in a line in opposite corners.
- First Row & First Stripe: start your first row in the right-most granny square’s right corner with a chain 3 and end it with a treble in the left-most granny square’s left corner.
- Stripes: change color every two rows, stop at the second last stripe.
- Top Edge: make 6 squares for the top edge of the blanket and join them in a line in opposite corners.
- Last Stripe & Last Row: as you make your last row, join your granny squares into the blanket.
Bottom Edge
Make 7 granny squares for the bottom edge of the blanket and join them together in a line in opposite corners.
Joining Granny Squares In Corners
To do this, when I’m in the corner that I want to join in and I’ve made my first 3 dc, I like to drop the loop from the hook, insert the hook into the other granny square’s corner that I want to join with (front to back), pull up the loose loop and chain 1, then 3 dc in the same corner space (corner complete and joining corners complete).
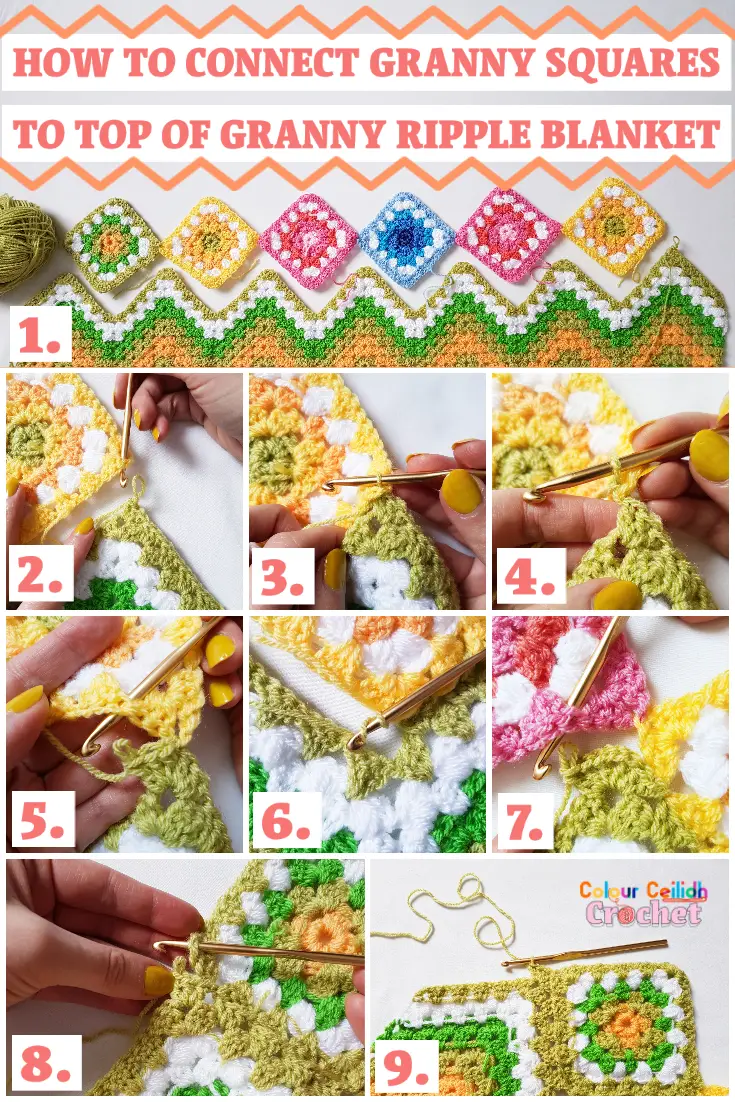
The photo tutorial below shows you how to join your top edge granny squares to the last row of the blanket, which can be used to learn how to connect granny squares in corners as well, as the principle is the same, dropping the loop and chaining one.
UPDATE: I now have a tutorial how to join granny squares as you go that demonstrates the simple principle described above with ample photos.
I’m going to name the granny squares according to the color of their last round. Join the granny squares in the following sequence:
Pistachio Granny – Citron Granny – Fondant Granny – Cloud Blue Granny – Fondant Granny – Citron Granny – Pistachio Granny
Pistachio Granny
With Saffron, ch 5, sl st to ch-1 to form a ring.
Rnd1 (Saffron) Ch 3 (counts as dc), 2 dc in ring, *ch 1, 3 dc in ring; rep from * two more times, join with sc to top of ch-3.
Rnd2 (Pistachio) Ch 3 (counts as dc), (2 dc, ch 1, 3 dc) in same space, *(3 dc, ch 1, 3 dc) in next space; rep from * two more times, join with sl st to top of ch-3.
Rnd3 (Grass Green) Ch 3 (counts as dc), 2 dc in same space, *(3 dc, ch 1, 3 dc) in next space, **3 dc in next space; rep from * around, ending your last rep at **, join with sl st to top of ch-3. Fasten off and turn.
Join White with a slip stitch in any space.
Rnd4 (White) [Work ch 2 the first time, and hdc thereafter (counts as hdc), hdc5tog, hdc] in every non-corner space and (hdc, hdc5tog, hdc, ch 3, hdc, hdc5tog, hdc) in every corner space around, join with sl st to top of ch-2. Fasten off, t.
Join Pistachio with a slip stitch in any space.
Rnd5 (Pistachio) [Work ch 3 the first time, and dc thereafter (counts as dc), 2 dc] in every non-corner space and (3 dc, ch 1, 3 dc) in every corner space around, join with sl st to top of ch-3. Fasten off.
Follow the same pattern as above but change colors:
Citron Granny
Rnd1 (Pistachio) – Rnd2 (Citron) – Rnd3 (Saffron) – Rnd4 (White) – Rnd5 (Citron)
Fondant Granny
Rnd1 (Candyfloss) – Rnd2 (Fondant) – Rnd3 (Shrimp) – Rnd4 (White) – Rnd5 (Fondant)
Cloud Blue Granny
Rnd1 (Lapis) – Rnd2 (Aster) – Rnd3 (Turquoise) – Rnd4 (White) – Rnd5 (Cloud Blue)
First Row & First Stripe
Start your first row in the right-most granny square’s right corner with a chain 3 and end it with a treble in the left-most granny square’s left corner.
Join Pistachio with a slip stitch in the Pistachio Granny’s right corner’s ch-1 space.
Row1 (Pistachio) Ch 3, 3 dc in next space four times, *(3 dc, ch 2, 3 dc) in next ch-2 space, 3 dc in next space four times**, skip the granny square joining point the first time, and the valley thereafter, 3 dc in next space four times; rep from * across ending last rep at **, tr in next space, t.
Row2 (Pistachio) Same as Row1.
Stripes
Change color every two rows, stop at the second last stripe (White), which is Row 124.
Rows 3-124 Same as Row1.
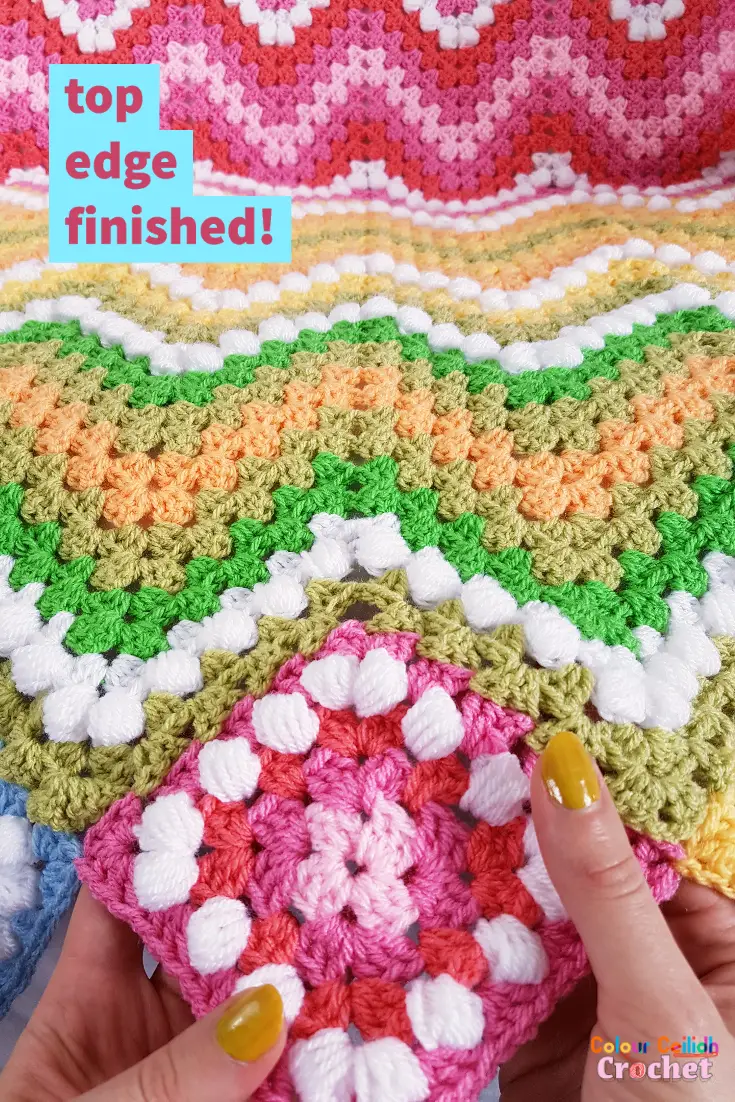
Top Edge
Make 6 squares for the top edge of the blanket and join them in a line in opposite corners in the following sequence:
Pistachio Granny – Citron Granny – Fondant Granny – Cloud Blue Granny – Fondant Granny – Citron Granny
The reason why there is one less square for the top edge is to avoid making half-squares/ triangles and the finished edge is still very pretty and decorative.
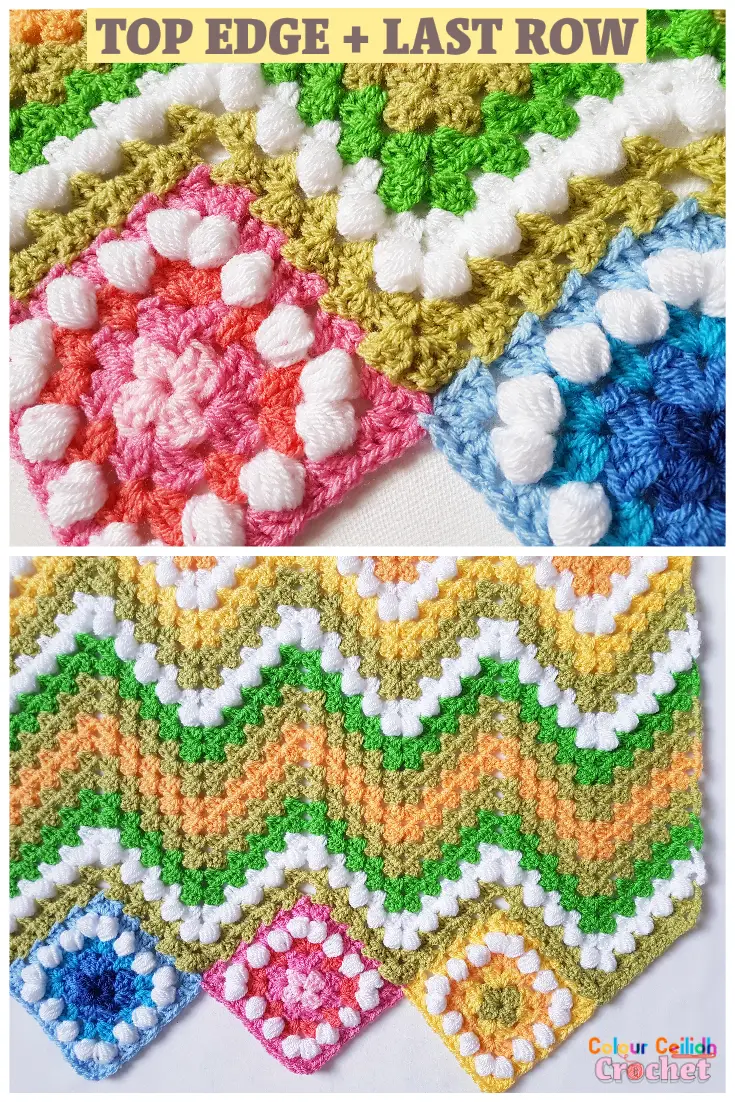
Last Stripe & Last Row
Last stripe is Pistachio. So begin your last stripe as usual, make one row of your stripe, turn, and crochet up to the first chevron peak. Our blanket is wrong side up and we arrange our grannies wrong side up too.
As you continue to make your last row, join your granny squares into the blanket. Here’s a tutorial of how to do that.
I think this tutorial is great because you don’t need any other tools for this task, just your crochet hook, and no extra yarn. It utilises the yarn you’re already using for your last row. And it looks great, too!
How To Connect Granny Squares To Top Of Granny Ripple Blanket
Well done!
I really appreciate you visiting here, so a big thank you!
If you like this blanket, here is another colorful ripple afghan I designed for the holidays. It’s called Crochet Blanket Christmas Present.
If you enjoyed my Crochet Blanket Spring Landscape free pattern, please share the link to this post with your friends, subscribe to my email list (the form pops up when you click around or come back again), Pin your favourite image by hovering over it and follow me on Pinterest so you never miss a pin, like my Facebook page and follow me on Instagram to see behind the scenes and for more color in your life.
Happy Crocheting!
Justina